
Last updated November 2, 2026
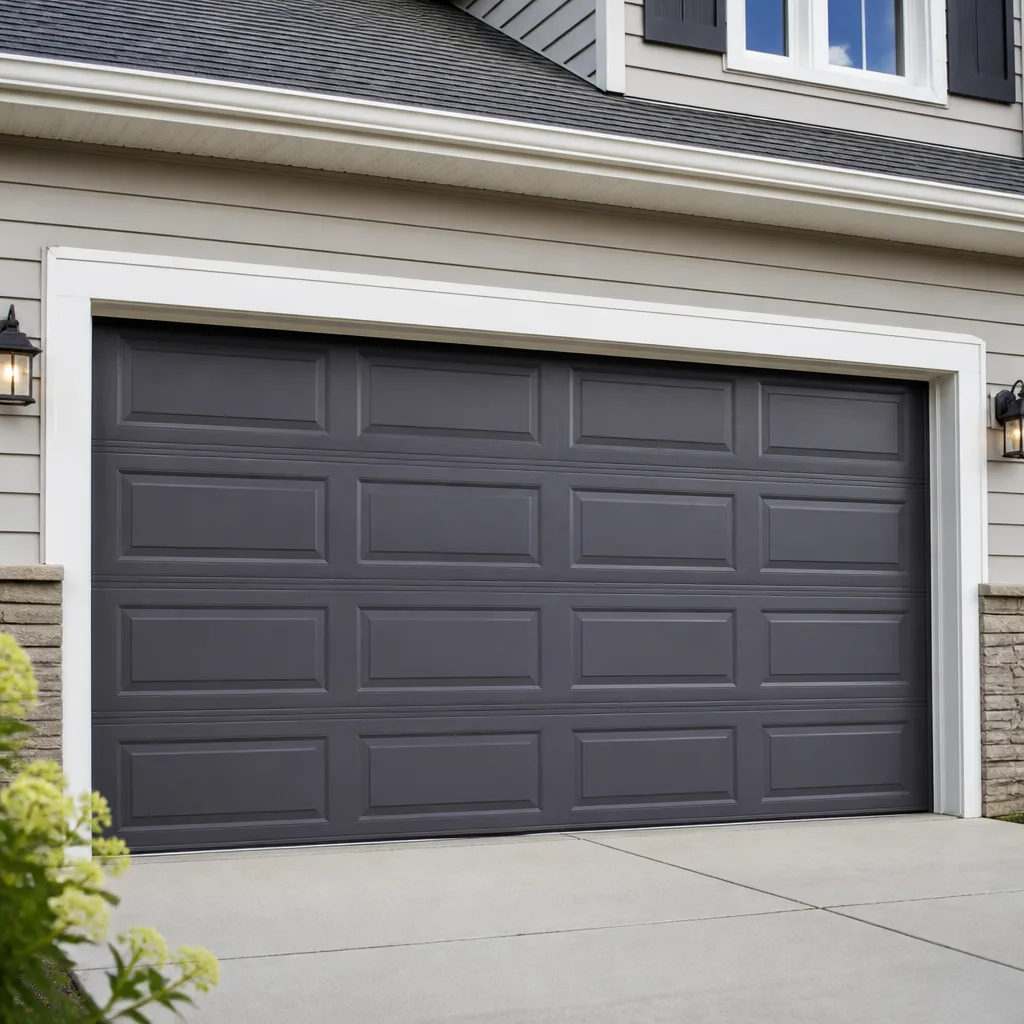 Raised-panel steel
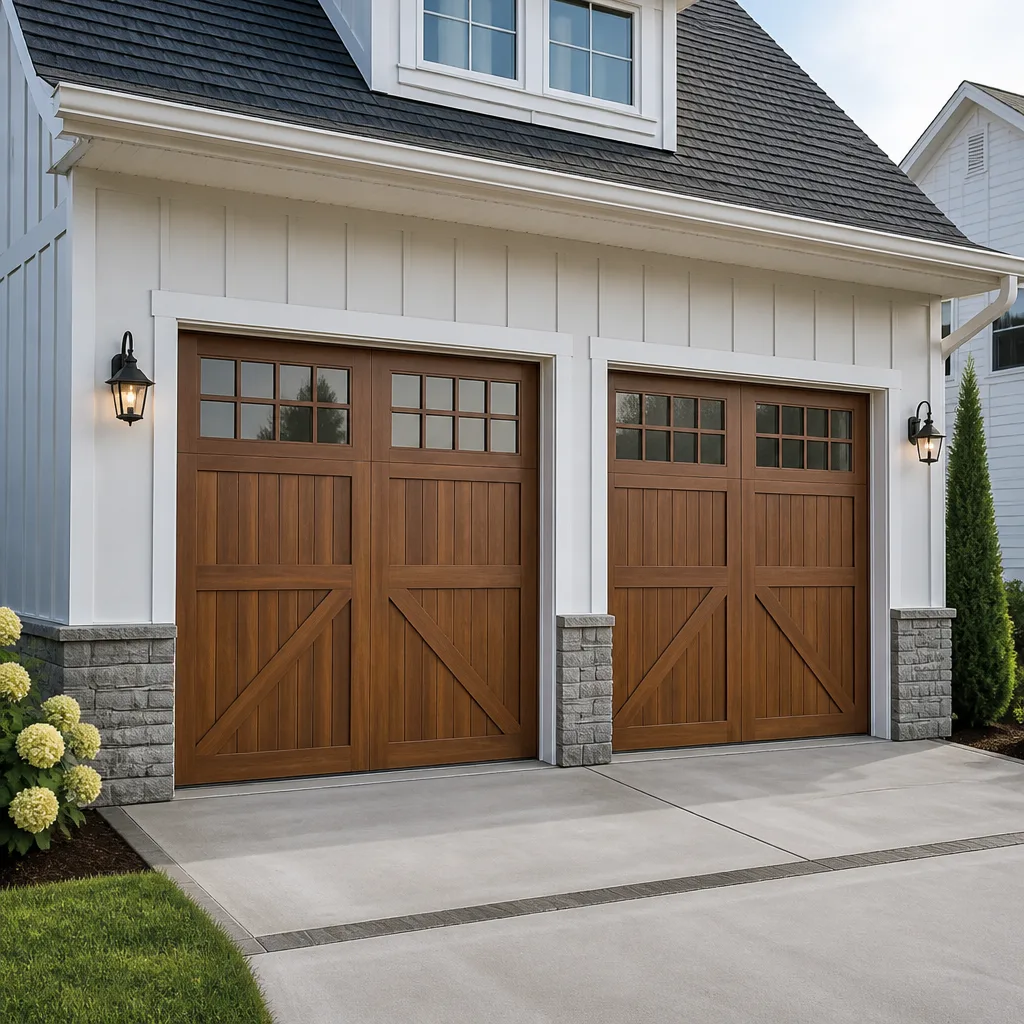 Carriage house
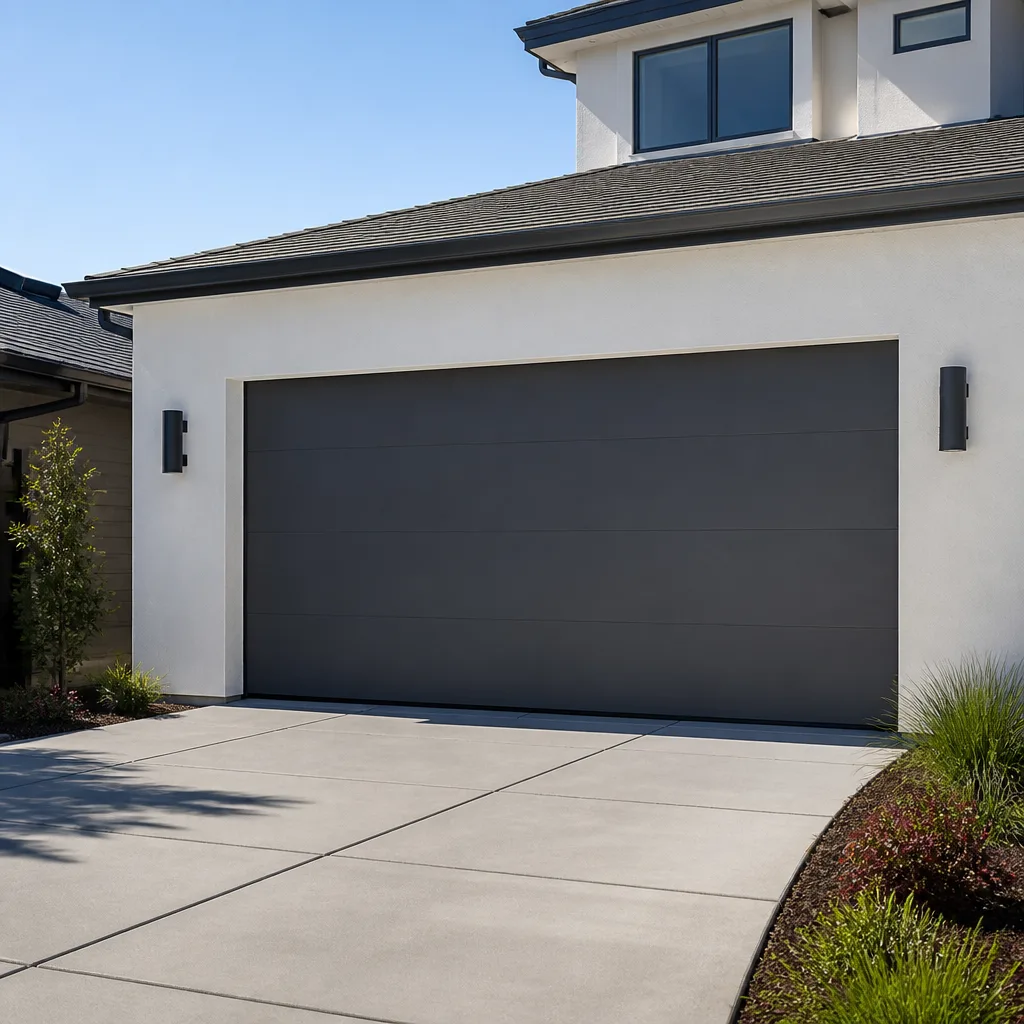 Modern flush
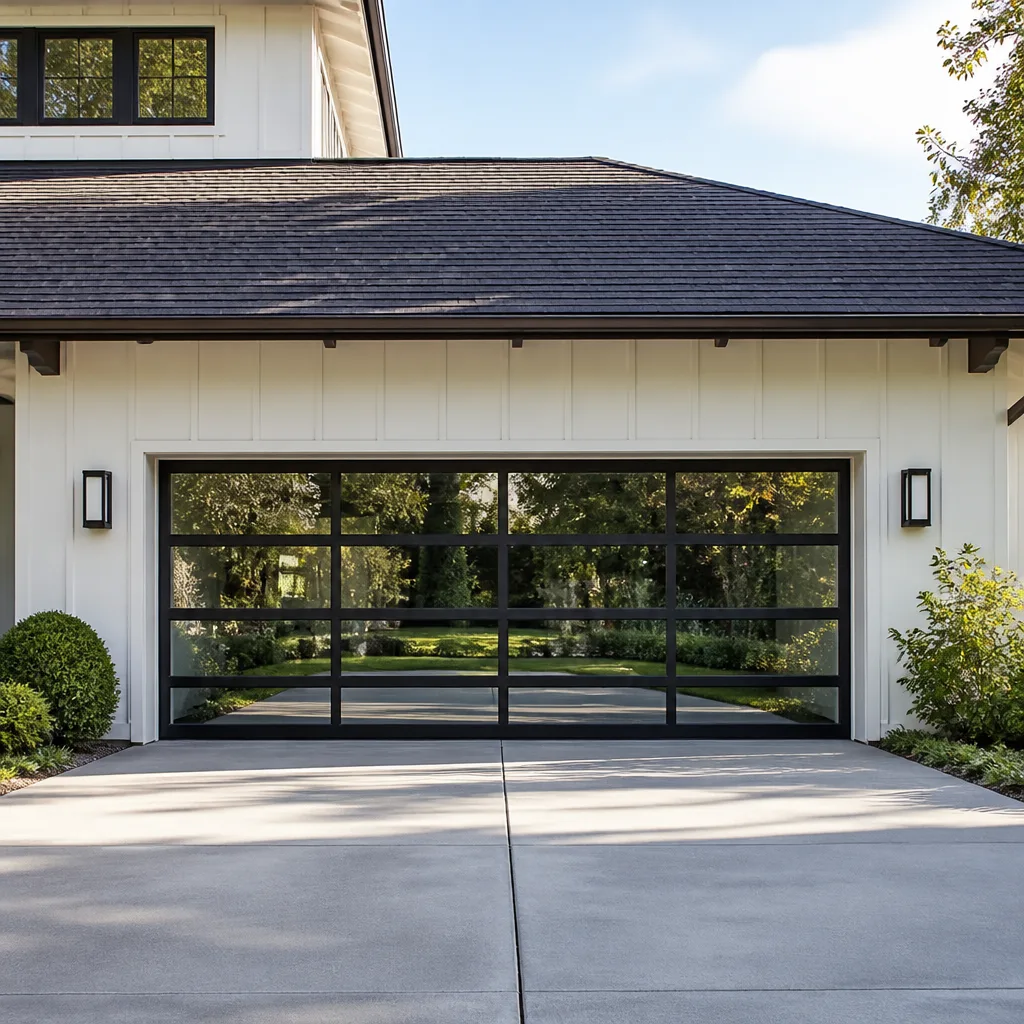 Full-view glass
 LiftMaster openers
 Chamberlain openers
Full 25-point door and opener safety check with every visit - springs, cables, rollers, tracks, and your LiftMaster or Chamberlain opener included
You get a price before we start. It does not change when the truck arrives.
Get your free estimateGarage Door Repair Troubleshooting: Common Problems and How to Fix Them
Garage door repair troubleshooting guides on the internet have a sameness problem. They all start with the same broken door photo and the same checklist: check the batteries, check the sensors, check the tracks. What they skip is the one piece of information that determines whether your fix will take twenty minutes or turn into a four-hundred-dollar mistake. That piece of information is generation. A Chamberlain opener manufactured in 2005 has a completely different logic board, a different safety sensor protocol, and a different failure pattern than the same brand’s 2019 smart model sitting in your neighbor’s garage. This guide is built around that reality. It will walk you through identifying your hardware generation, separating safe DIY fixes from dangerous ones, and knowing when the correct move is to call a technician for our Garage Door Repair services in Glendale before the door causes worse damage.
Quick Answer
Most garage door problems can be traced to one of four things: a broken spring, misaligned safety sensors, a worn logic board or trolley in the opener, or an obstruction in the track. The key step most homeowners skip is identifying what generation your spring system and opener actually are before attempting any fix, because the same symptom can require completely different repairs depending on your hardware. If the door is off track, the springs show visible damage, or the opener motor runs but nothing moves, stop and call a professional in Glendale at (855) 473-2620 for a free estimate. These failures get expensive fast when a well-meaning homeowner applies the right fix to the wrong system.
Styles & brands we work with
- Raised-panel steel
- Carriage house
- Modern flush
- Full-view glass
- LiftMaster openers
- Chamberlain openers
Table of Contents
- Step One: Identify Your Spring System Type in 60 Seconds
- Garage Door Will Not Open or Close: The Six Hidden Causes
- Opener Logic Board vs. Motor vs. Trolley: A Symptom Matrix
- The Three Noises That Mean Stop Using the Door Immediately
- Sensor Alignment Beyond Wiping the Lens
- How Glendale Heat and Slope Affect Garage Doors
- Common Mistakes to Avoid
- When to Call a Professional
- Frequently Asked Questions
Step One: Identify Your Spring System Type in 60 Seconds
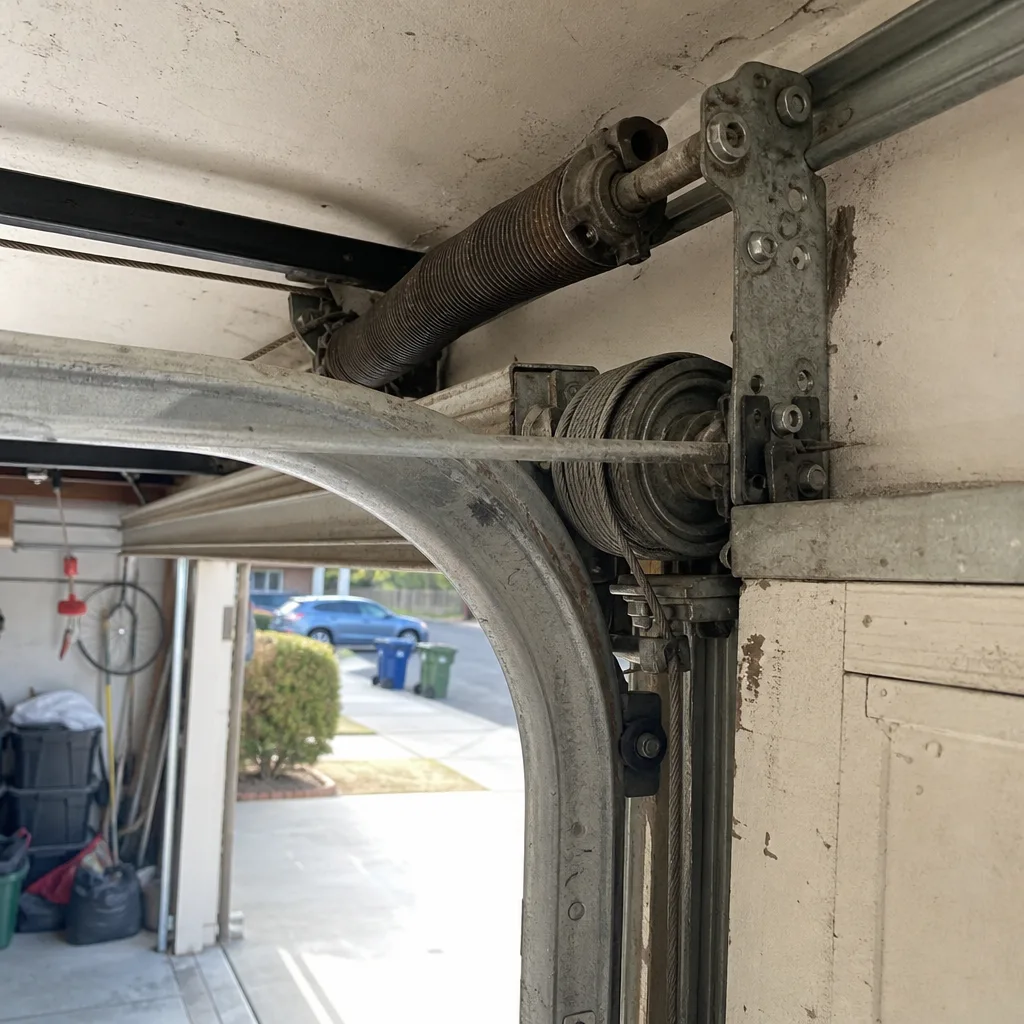
Before you touch anything on a broken garage door, you must know which spring system you have. This matters because the danger profile and the correct fix are completely different for the two main types. A torsion spring sits on a metal bar directly above the closed door, runs parallel to it, and looks like a tightly wound coil. An extension spring hangs above the horizontal tracks on either side of the door and stretches when the door closes. Most homes built in Glendale before the early 2000s use extension springs. Most newer homes, and most doors we see installed in the Verdugo Woodlands and Rossmoyne neighborhoods, use torsion springs.
Here is the sixty-second identification process:
- Stand inside the garage with the door closed and look up.
- If you see a horizontal shaft with one or two coiled springs mounted on it, you have a torsion system, either single or double. If you see two long unstretched springs running along the ceiling tracks on each side, you have an extension system.
- Count your torsion springs. One spring means the door is likely 7 feet tall and lighter. Two springs mean either a heavier door, an 8-foot door, or a system where the installer used a pair for balance.
- Look at the cable drums at each end of the torsion shaft. If the cables are wound unevenly or the drum has visible wear marks, the door has been operating out of balance.
Why does this matter? Because a torsion spring under tension stores an enormous amount of energy. If that spring lets go while you are standing under it with a wrench, the result is a serious injury or worse. Extension springs are less catastrophic when they fail because they are usually contained in a safety cable, but an old extension spring without a cable is a projectile waiting to happen. In our experience across Glendale, roughly one in four doors we see still has an extension spring without a safety cable. That is a one-hundred-dollar fix that prevents a hospital visit.
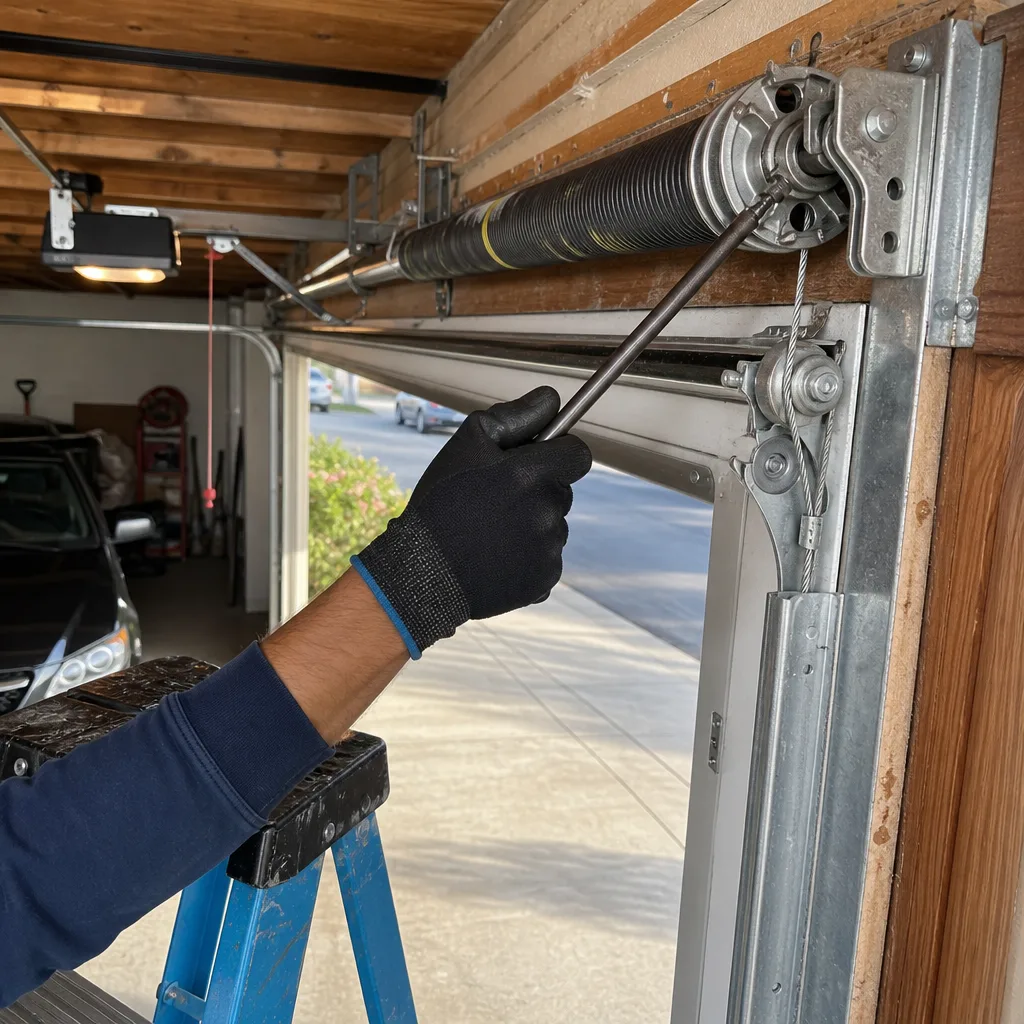
Once you know your spring type, you can decide what is safe to attempt. You can safely install a new safety cable on an extension spring with the door open. You should never attempt to replace or adjust a torsion spring yourself. The winding bars, the torque, the specific number of turns for your door weight and height, and the risk of the bar slipping are all factors that make this a professional job in every case. We work on the door you have, not the one we want to sell you, and one of the most common calls we take from Glendale homeowners is from someone whose torsion spring was half-fixed by a generalist or a YouTube tutorial and made the door worse than when it started.
If you have a Wayne Dalton door with the TorqueMaster spring system, which hides the spring inside a tube, you have a third category. That system requires a special tool and a specific procedure. It is not interchangeable with standard torsion spring repair, and the symptoms of a broken TorqueMaster spring (door suddenly heavy, opener struggling) look identical to a standard spring failure while requiring a completely different repair path.
Garage Door Will Not Open or Close: The Six Hidden Causes
A garage door that will not open or close all the way has six distinct causes, and each one requires a different fix. We see Glendale homeowners misdiagnose these constantly, usually by jumping to the most expensive possibility instead of the most likely one. Here they are, sorted from most common to least common in our experience.
1. Obstructed Safety Sensor
The small eyes mounted about six inches off the floor on each side of the door are called photoelectric sensors. When something blocks the invisible beam between them, the opener refuses to close the door. The most common obstruction in Glendale is not a box, but a slow buildup of spider webs, dust from the dry climate, or a leaf that drifted in during Santa Ana wind season. Clean the lenses with a microfiber cloth, not a paper towel, which leaves lint. If the door still will not close, see the dedicated sensor section below.
2. Track Obstruction or Debris
Run a gloved hand along the vertical tracks on both sides. You are feeling for dents, loose bolts, or a buildup of hardened grease that has collected dirt. A single bolt that has backed out and is catching a roller will stop the door cold. This is a five-minute fix with a socket wrench. It is also the number one reason a door binds halfway up instead of at the top or bottom.
3. Broken or Worn Spring
A broken torsion spring often announces itself with a loud bang, like a firecracker going off in your garage. After that, the opener will not lift the door, or lifts it only a few inches before the motor strains and gives up. A worn but not broken spring is subtler: the door opens partway, feels heavy when you operate it manually, or slams when it closes. In Glendale, where many doors cycle open and closed multiple times a day for commuters on the 134, springs wear out eight to ten years in. If your spring is original to a home built before 2015, it is well past its rated cycle life.
4. Opener Limit Switch Off
Every opener has two limit settings: how far up the door travels and how far down it travels. If the door opens but does not reach the floor, or closes but immediately reverses, the limit switch is the likely culprit. On older LiftMaster and Craftsman units, these limits are set with small dials on the motor housing. On newer Chamberlain and LiftMaster models with a wall control panel, they are set digitally through the menu. The fix takes five minutes on most units and requires no parts.
5. Failed Travel Module in the Opener
If the motor runs, the chain or belt moves, the door is balanced and the sensors are clean, but the door still does not complete its travel, suspect the travel module. This is a small circuit board inside the opener that controls how far the trolley travels. We see this most on openers from the 2008 to 2014 generation. A replacement travel module for a Chamberlain or LiftMaster from that era runs around sixty to ninety dollars and takes most technicians under an hour to swap.
6. Door Out of Balance
Pull the emergency release cord and operate the door by hand. If the door is balanced, it should stay put when you open it halfway and let go. If it falls or rises on its own, the door is out of balance. This is not an opener problem. Continuing to run an unbalanced door will burn out the opener motor, and the repair becomes two jobs instead of one. A balance issue requires a spring adjustment, which is professional work. In our experience throughout Glendale, homeowners who catch a balance issue early spend less than half what they spend when they let it go until the opener burns out.
Opener Logic Board vs. Motor vs. Trolley: A Symptom Matrix
When an opener misbehaves, most people replace the whole unit. That is often unnecessary, and it is the most expensive path. Your opener has three main components that fail independently: the logic board, the motor, and the trolley assembly. Each has a distinct symptom pattern, and separating them allows a targeted repair rather than a five-hundred-dollar replacement. Here is the matrix we use at Suncrest Garage Door Repair when diagnosing a call in Glendale.
The Logic Board
The logic board is the circuit board that receives signals from your wall button, your remotes, and your sensors, and then tells the motor what to do. When the board fails, you get odd behavior: the opener works intermittently, the remote works but the wall button does not, the light turns on but the motor does not run, or the unit randomly opens in the middle of the night. A dead motor does not do any of these things. A bad logic board can also cause the unit to lose its programming and forget your remotes. On a 2005 Chamberlain, the logic board is a standalone component that costs thirty to fifty dollars used. On a 2019 LiftMaster with a smart hub built in, the board is integrated and a failure means replacing the unit unless you have a very good technician who can source the exact board.
The Motor
Motor failure is straightforward: it makes a humming noise but does not turn, or it runs for a second and stops, or it is completely silent when you press the button while the light still works. Electric motors in garage door openers have brushes that wear down. If you hear sparking or a grinding electrical noise from the motor housing when the unit runs, the brushes are gone. A motor replacement on a residential opener generally costs more than the opener is worth, which is why on anything older than fifteen years we recommend evaluating a new opener installation instead. On a newer unit under ten years old, a motor replacement can still make sense.
The Trolley Assembly
The trolley is the carriage that travels along the rail and pulls the door arm. The most common trolley failure is the plastic gear or the carriage stripping. Symptoms: the motor runs, the chain or belt moves, but the door barely moves or makes a rattling noise in the rail. Another classic sign is the door opening a few inches and stopping while the motor keeps running. On many LiftMaster, Chamberlain, and Craftsman units, the trolley uses a plastic carriage that strips against the metal worm gear. The part costs forty to sixty dollars and takes a competent technician about forty-five minutes to swap. It is one of the cheapest major repairs on an opener, and one of the most commonly misdiagnosed as a total motor failure by homeowners using generic troubleshooting charts.
The reason we treat garage door opener repair in Glendale as its own dedicated service rather than a footnote to door repair is precisely this matrix, as we explain in Garage Door Warning Signs: A Glendale Homeowner’s Reference Guide. It requires diagnostic discipline, not guesswork.
The Three Noises That Mean Stop Using the Door Immediately
Garage doors make noise. Some of it is harmless. Some of it is the sound of a failure in progress that will get more expensive every time you press the button. Here in Glendale, where many garages are directly under bedrooms, noise problems also wake people up. This section separates what you can ignore from what requires immediate action.
Stop Using the Door: The Three Dangerous Noises
- A sharp bang or crack from above the door, like a firecracker. That is a torsion spring snapping. Stop using the door immediately. Do not press the opener button again. The door is now being held only by the cables, and those cables are not designed for the full weight of the door alone. Every additional cycle risks the cables snapping and the door coming down.
- A rapid popping or snapping sound while the door moves, not a single bang. This is usually individual strands of a cable fraying and breaking under tension. A frayed cable can fail at any moment, and when it does the door can drop on one side. That sudden drop is what breaks fingers and damages cars.
- A grinding, chewing noise from the opener rail while the motor runs normally. This is the plastic trolley gear stripping against the metal worm gear. Every time you run the opener, more plastic shavings accumulate and the door moves less. If this noise just started, the repair is likely a forty-dollar part. If you keep running it for a week, the motor can overheat and the repair becomes a replacement.
Annoying but Safe: The Three Noises You Can Schedule a Repair For
- A squealing or scraping noise when the door moves. This is almost always dry metal rollers or hinges. Lubricating with a white lithium spray grease, not WD-40, usually silences it. If the noise persists after lubrication, the rollers are worn and should be replaced, but this is not an emergency.
- A rattling from the door panels themselves. The panels are bolted together at the hinges, and over years those bolts loosen. A socket wrench and ten minutes fix most rattles. This is a maintenance item, not a safety signal.
- A humming from the opener that lasts a second or two after the door stops. This is the capacitor or the transformer, and it is common on older Craftsman and Raynor openers. It is not dangerous, but it can indicate a component nearing the end of its life. Note it and mention it to your technician at the next service.
The practical rule we share with every Glendale homeowner who calls us: one loud bang means stop now, because the next sound could be the door coming down on whatever is under it. A persistent grind means you have a few days. A squeal means you have weeks. Knowing which is which saves you money and keeps your household safe.
Sensor Alignment Beyond Wiping the Lens
Every troubleshooting guide tells you to wipe the sensor lenses. Fine. That is the first step, and it fixes maybe one in five sensor problems. The rest require going deeper. Here are the four sensor faults we fix most often on doors in Glendale, beyond a dirty lens.
1. The Sensors Are Not Actually Aligned
A sensor unit that is even a few degrees off will not see the beam. The telltale sign is the small LED on each sensor: one glows green or solid, the other glows red, blinking red, or goes dark. To align them, loosen the wing nut on the mounting bracket and gently adjust the sensor until both LEDs show solid. The beam is not a laser pointer you can see; it is infrared and invisible. You are using the LEDs as your feedback. Newer LiftMaster and Chamberlain sensors have a single green and a single amber LED. Older Genie units use different color combinations, so check your manual or look for a pattern that shows both lights solid when the door is closed.
2. Sunlight Interference: The West-Facing Garage Problem
In Glendale, a garage door that faces west catches the full force of the afternoon sun. Infrared from the sun can overwhelm the safety beam, causing the door to refuse to close between roughly 3 p.m. and 6 p.m. every day during the dry months. The fix is not new sensors. It is shading: a small cardboard tube or a 2-inch piece of PVC pipe slipped over the receiving sensor as a lens hood blocks the sun while still allowing the beam through. This is a three-dollar fix for a problem that drives some homeowners to replace a perfectly good opener.
3. Faulty Wiring to the Sensors
The wires that run from the opener to the sensors run along the wall and then under the door in low-voltage runs. In garages where the same walls host lawn equipment, bicycles, or storage shelving, those wires get knocked loose or chewed by rodents. A sensor that flickers or works intermittently often has a wiring fault, not a sensor fault. A technician can test the wire with a multimeter in minutes. The bad news is that a broken wire inside the wall needs to be rerun. The good news is that the fix is usually simple surface wiring that takes under an hour.
4. The Sensors Are Wired Backwards or Wrong Unit
On some systems, the two sensors are not identical. One is a sender, one is a receiver. If a previous repair swapped them, the opener will not recognize the beam. We have seen this on several Glendale doors where a well-meaning DIYer replaced one sensor with the wrong part number found on eBay. Chamberlain sensors pair with Chamberlain logic boards. A generic “universal” sensor often does not work, especially on anything made after 2018. The right fix is matching the sensor to the opener generation. That is exactly the kind of detail that separates Garage Door Opener Repair in Glendale from a handyman who tries a part and hopes.
How Glendale Heat and Slope Affect Garage Doors
Garage doors in Glendale deal with conditions that a door in Santa Monica or Pasadena does not. It gets hotter here, and the heat does specific things to specific components. Understanding your local conditions helps you diagnose problems before they become breakdowns.
The greatest heat threat is to the torsion spring. Torsion springs are tempered steel wound under high tension. In extreme heat, the metal expands. Over hundreds of heat cycles across ten Glendale summers, that expansion and contraction causes the spring to lose tension and, eventually, to snap. That is why spring failures cluster in August and September after the hottest stretch of the year. A spring that is rated for ten thousand cycles lasts roughly eight years in this climate, not twelve.
Heat also degrades the plastic components in openers. The logic board on a LiftMaster installed in an uninsulated garage on the west side of Glendale sits in ambient temperatures that can top 110 degrees on a summer afternoon. That is beyond the operating spec for most residential openers. The most common heat-related failure we see is the capacitor swelling on the opener’s main board. A swollen capacitor looks like a small metal can with a domed top, and it can cause the opener to run erratically or not at all. On a Chamberlain or a Craftsman from the mid-2010s, replacing a swollen capacitor is a thirty-dollar repair that many generalists miss because they have never opened a logic board housing.
The slope of many Glendale streets matters too. Homes in the hills, in neighborhoods like Adams Hill or up toward Kenneth Village, often have driveways that slope toward the garage. That means water runs toward the door during winter rains. A garage door with worn bottom weatherstripping will let water in, and water on the bottom panel leads to rust, and rust on the bottom panel leads to a panel replacement that could have been prevented with a fifteen-dollar seal. If you live on a slope, inspect your bottom seal every fall. The rainy season in Los Angeles is unpredictable, and a single intense storm can do real damage.
The other Glendale factor is the age of the housing stock. Much of the city was built between the 1940s and the 1970s. Those older garages were framed for 7-foot doors and light wood panels. Over the decades, homeowners have swapped in heavier steel doors, and in many cases the springs were never upgraded to match. A steel door on springs sized for a wood door wears out springs in half the time and strains the opener continuously. If you have an older Glendale home and do not know the history of your springs, that is a detail worth checking before you blame the opener for a struggling door.
If you are looking for a service provider who understands the local conditions and has worked on the older housing stock across the city, our Suncrest Garage Door Repair home page explains what we do and how we approach the repair first, replace only when it makes sense philosophy.
Common Mistakes to Avoid
- Lubricating the wrong parts. A garage door needs specific lubrication on the rollers, hinges, and spring. Spraying WD-40 on a torsion spring does nothing and actually strips the protective coating, accelerating rust. Spraying lubricant on the belt of a belt-drive opener makes the belt slip. Use white lithium grease on metal-to-metal parts and a silicone spray on nylon components. In Glendale’s dry air, a door that is not lubricated will wear rollers out noticeably faster.
- Adjusting the spring tension yourself. This is the most common serious mistake we see. A torsion spring has enough stored energy to break a wrist or take a finger. Extension springs can launch out of their mounts. No amount of YouTube prep makes this a safe DIY task. We cannot say this more plainly: call a professional.
- Replacing the opener when the trolley gear is the problem. A forty-dollar gear and an hour of labor fixes what many people assume is a dead opener. Across the older Glendale housing stock, we regularly save homeowners four hundred dollars or more on exactly this repair.
- Ignoring a noisy door because it still opens. A grinding noise does not fix itself. Every cycle with a fraying cable or a grinding gear makes the eventual repair more expensive and the failure more sudden. One loud bang is the warning you only get once.
- Using mismatched sensors on a modern opener. A universal sensor purchased online fails on most 2018-and-newer Chamberlain and LiftMaster units. The sensors communicate with the logic board using a specific protocol. If the board expects a Chamberlain sensor and sees a no-name one, the door will not close. Match the sensor to the opener generation.
- Putting the same force setting on an older opener without understanding the consequence. Every opener has an up-force and down-force dial. Cranking the force up to fix a door that reverses is treating the symptom, not the cause. It can also create a situation where the door closes on something and keeps pushing. That is how garage door accidents happen. If the door reverses on its own, find the actual cause.
- Skipping the balance test because the door “works fine.” When a door goes out of balance, the opener compensates by working harder. It is invisible for months, then the opener burns out. Testing your door’s balance takes thirty seconds once a season. It is the single cheapest preventative maintenance step you can take, and we recommend it to every customer we work with in Glendale.
When to Call a Professional
Certain situations call for professional help, full stop. Torsion spring replacement, cable replacement under tension, and any repair where the door is off its track are not DIY projects. The force involved in even a single-car garage door is enough to cause serious injury when a cable lets go or a panel slips. If your door will not open and you cannot safely assess it from the outside without putting your body under the door, call before you climb over anything. If the door is stuck open and one cable is dangling or frayed, prop the door with a sturdy ladder and call immediately. The door is unstable. If your opener is older than roughly fifteen years and the motor has failed, a new installation is usually the better value than a motor swap, and a professional can give you that comparison honestly. Suncrest Garage Door Repair offers free estimates in Glendale at (855) 473-2620, and we will tell you straight whether a repair makes sense or a replacement is the right financial call.
Frequently Asked Questions
Most Glendale garage door repairs run between $180 and $340 for spring replacement, $90 to $180 for sensor or trolley gear repairs, and $350 to $600 for a full opener replacement depending on the model you choose. These are the ranges we see for the local market, and any estimate should be confirmed before work begins. Call (855) 473-2620 for an exact quote. Estimates are free.
For most emergency repairs, including spring replacements and sensor issues, same-day or next-day service is available in Glendale. Same-day service applies to repair calls, not new door installations, which require measuring and ordering. Call (855) 473-2620 and tell us what you are seeing, and we will give you a realistic same-day or next-day arrival window.
No. The price you are quoted is the price you pay, and that quote is agreed before any work starts. Every Suncrest Garage Door Repair job in Glendale is quoted up front, and if we find something unexpected, we will stop and discuss it with you before touching anything. Repair first, replace only when it makes sense.
Yes. Because we work across eight major brands, including LiftMaster, Chamberlain, Genie, Clopay, Amarr, Wayne Dalton, Craftsman, and Raynor, our trucks are stocked for the repairs we do most often in Glendale. That means most spring replacements, sensor repairs, and trolley gear swaps are completed in one visit. Exceptions are custom door panels or uncommon opener boards, which we order and install quickly.
We are trained and experienced on LiftMaster, Chamberlain, Genie, Clopay, Amarr, Wayne Dalton, Craftsman, and Raynor. Whatever brand is on your door, we know it. Our designated opener repair service covers the motor, the logic board, and the trolley assembly, not just the remotes.
The most common reason for a door that closes partway and reverses is a dirty or misaligned safety sensor. Other causes include a track obstruction, a limit switch that is set too high, or a door that is out of balance. Go through the sensor alignment steps first, and if the door still reverses, call (855) 473-2620. A door that reverses intermittently is often a sign of a failing travel module on the opener, especially on units from the 2010s.
The Bottom Line
Garage door repair troubleshooting comes down to one concept most guides skip: identify your hardware generation before you apply any fix. The spring type, the opener age, the sensor protocol, and the local Glendale climate all change the diagnosis. A 2005 Craftsman opener shares almost no electronics with a 2019 LiftMaster, even though both will say “the door won’t close” to a homeowner. Work through the decision tree in this guide, be honest about what is safe to touch, and when in doubt, call a professional who works on the door you have, not the one they want to sell you. For additional help, see How to Hire a Garage Door Contractor in Glendale: A Step-by-Step Guide. Suncrest Garage Door Repair serves Glendale at (855) 473-2620 with free estimates, quoted and agreed before any work begins.
Written by the team at Suncrest Garage Door Repair, serving Glendale since 2014. Explore more guides & resources on our blog.
See the difference
 Before
 After
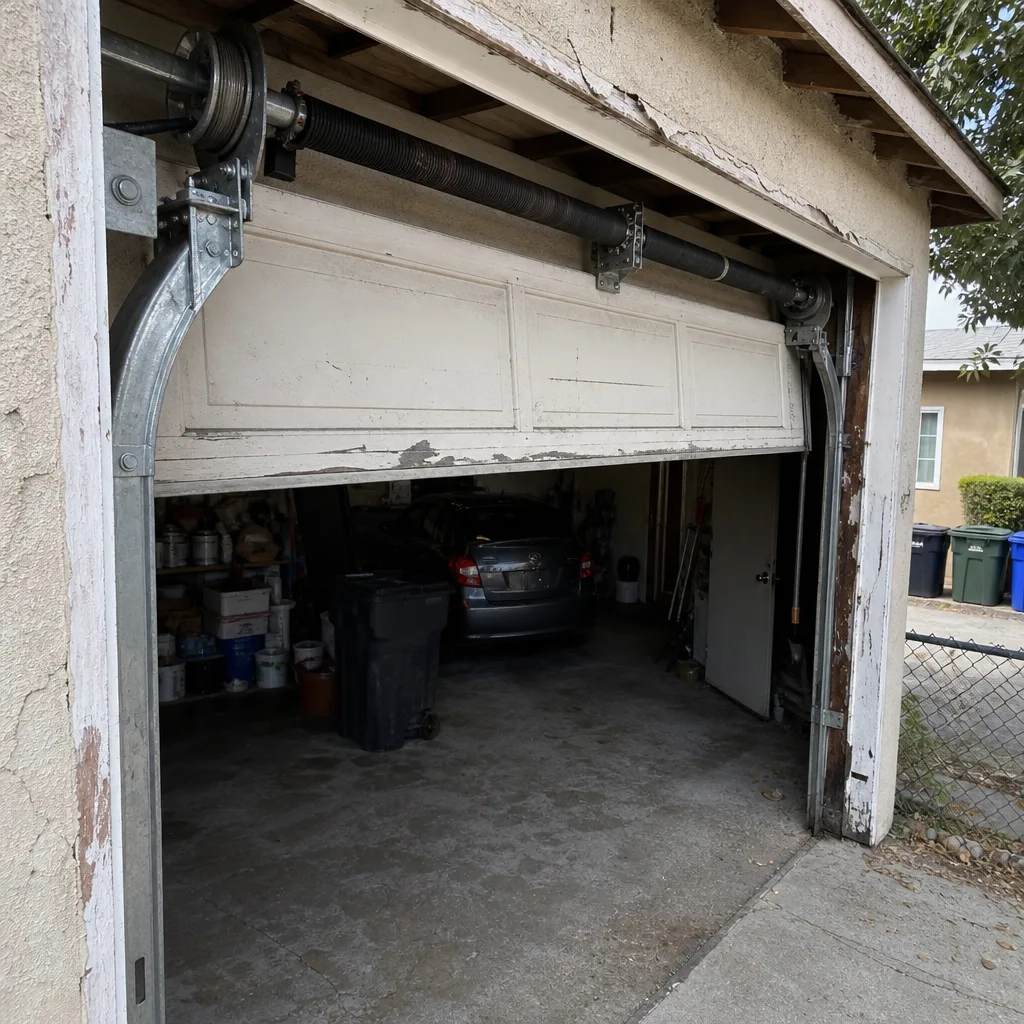 Before
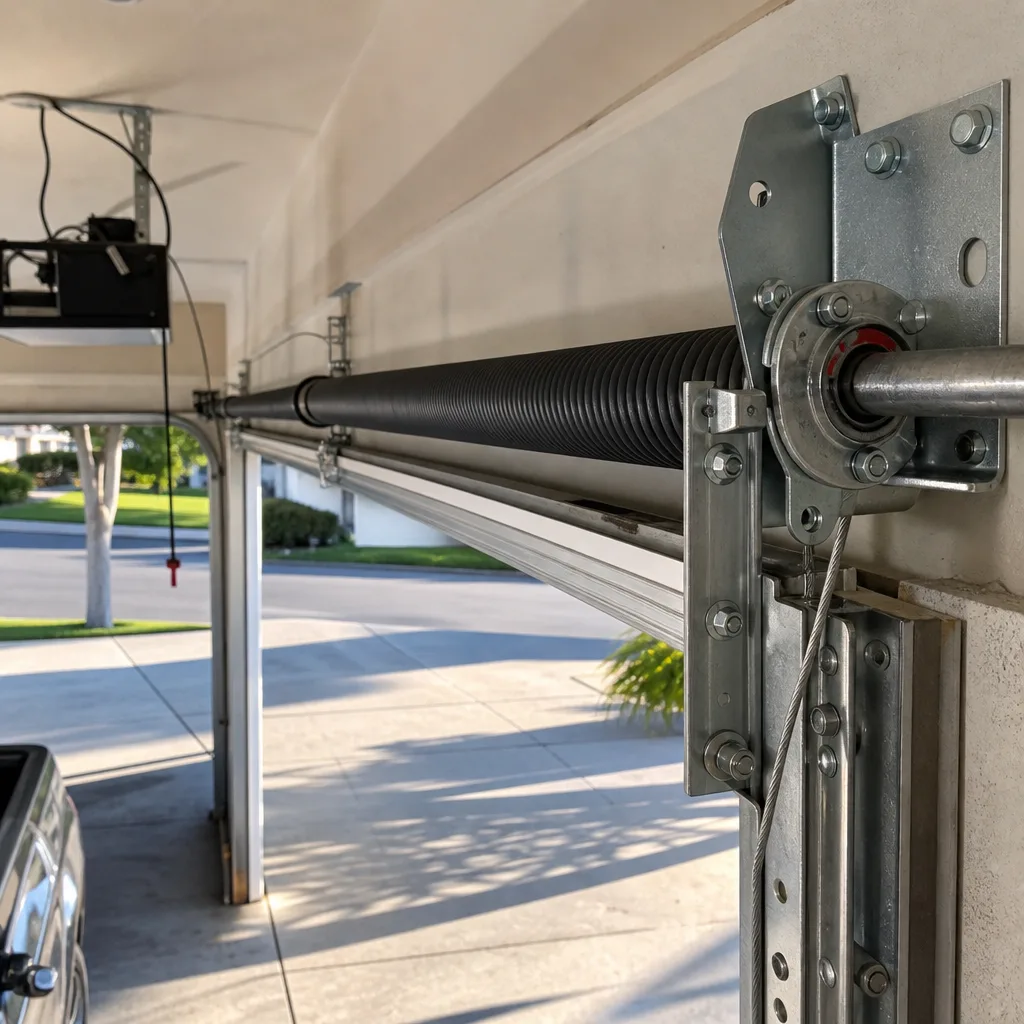 After
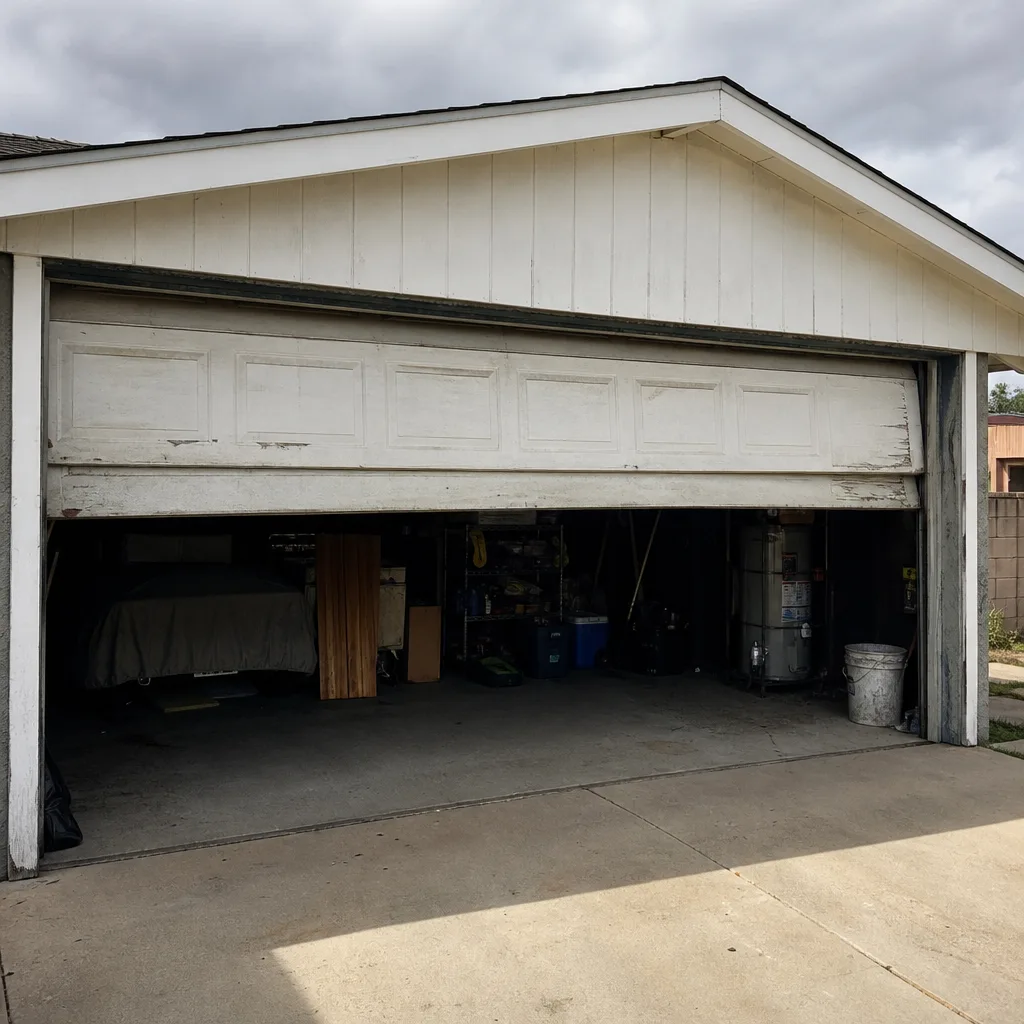 Before
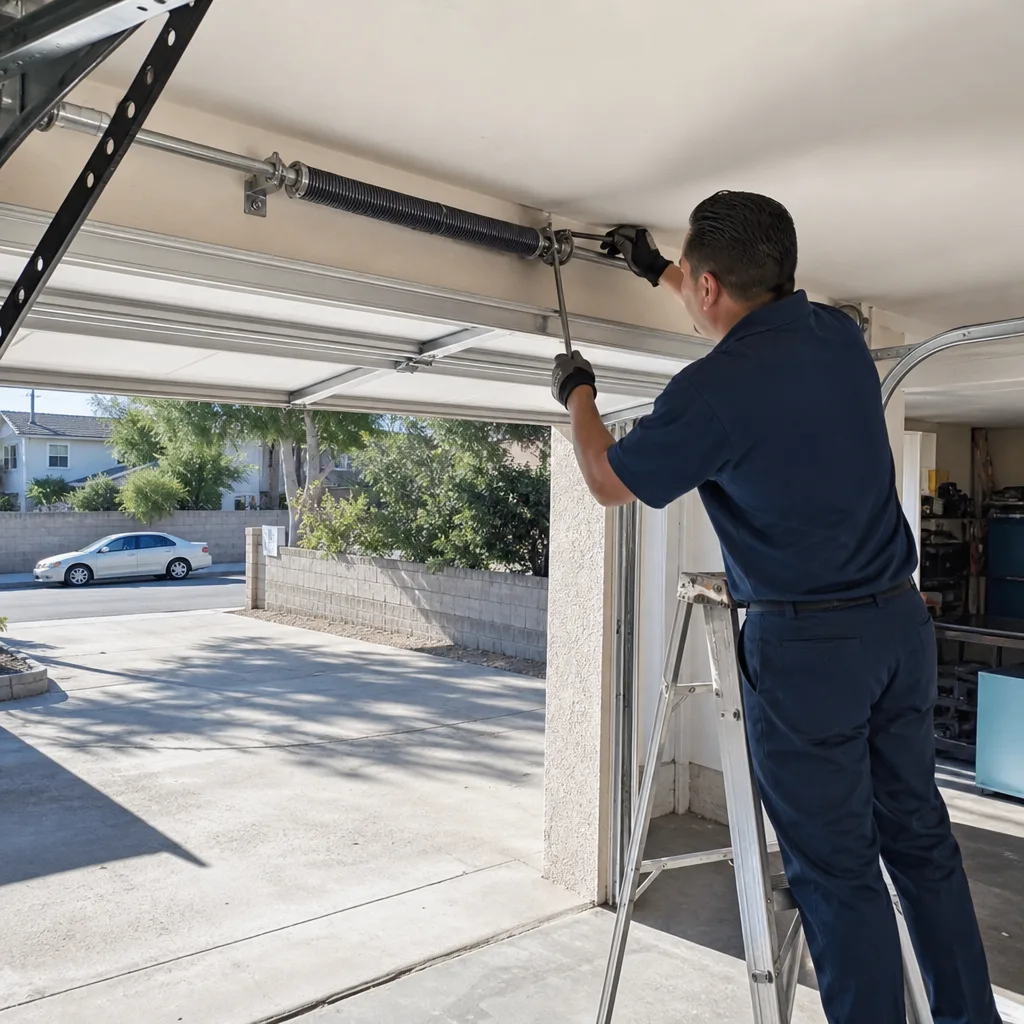 After