
Last updated November 2, 2026
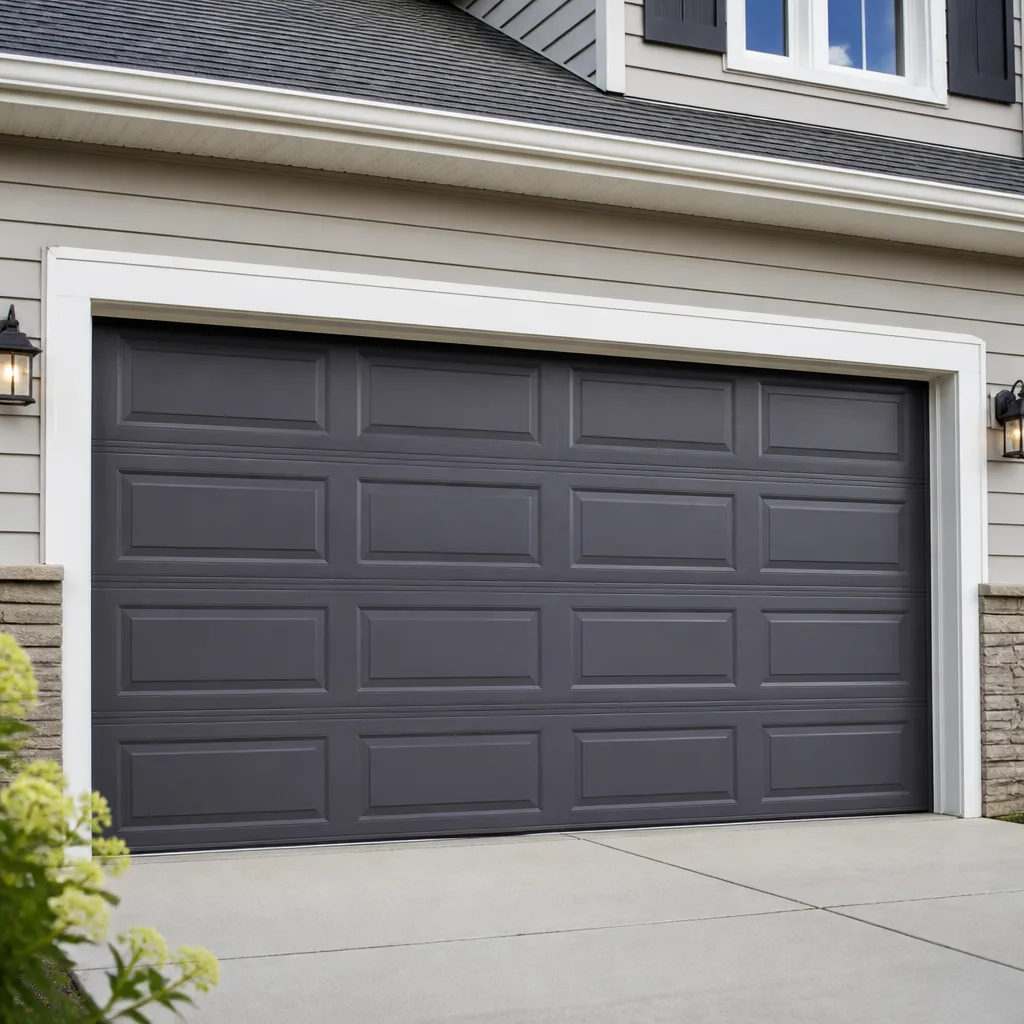 Raised-panel steel
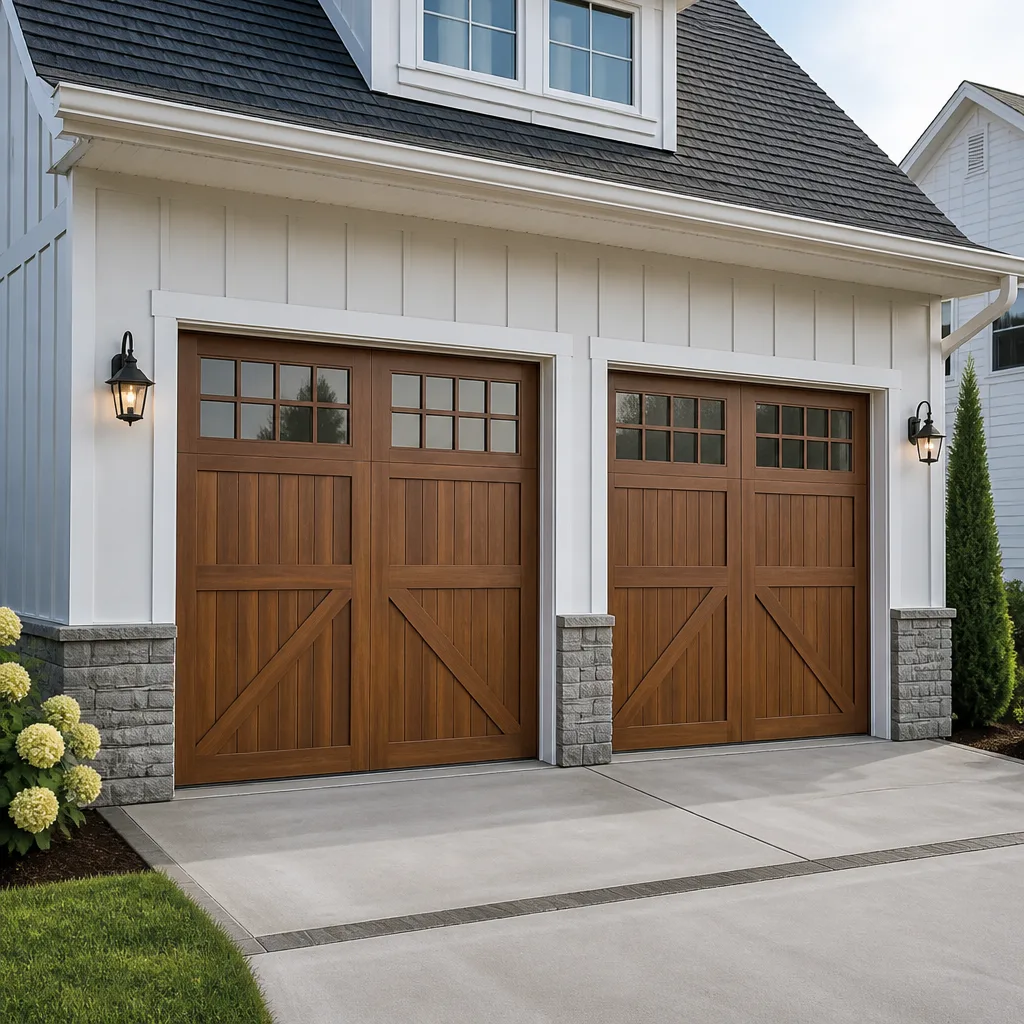 Carriage house
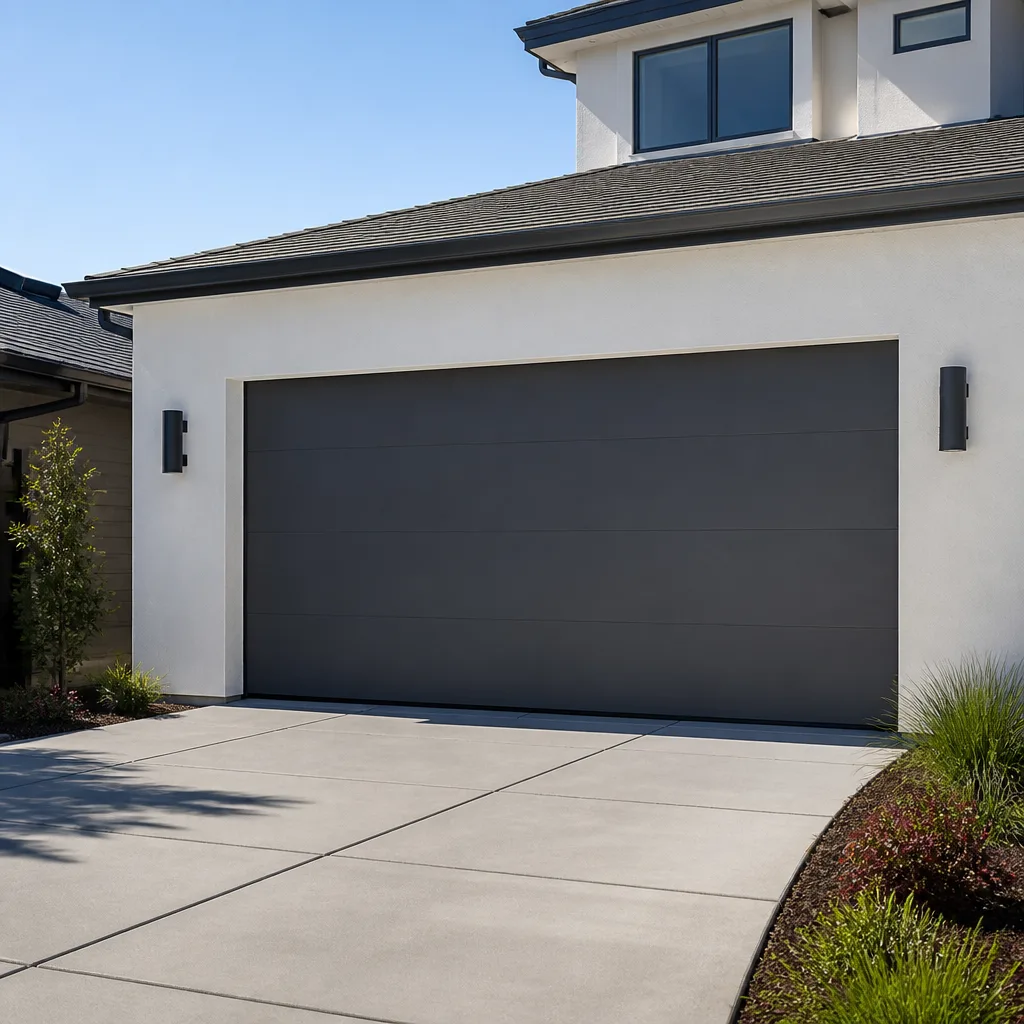 Modern flush
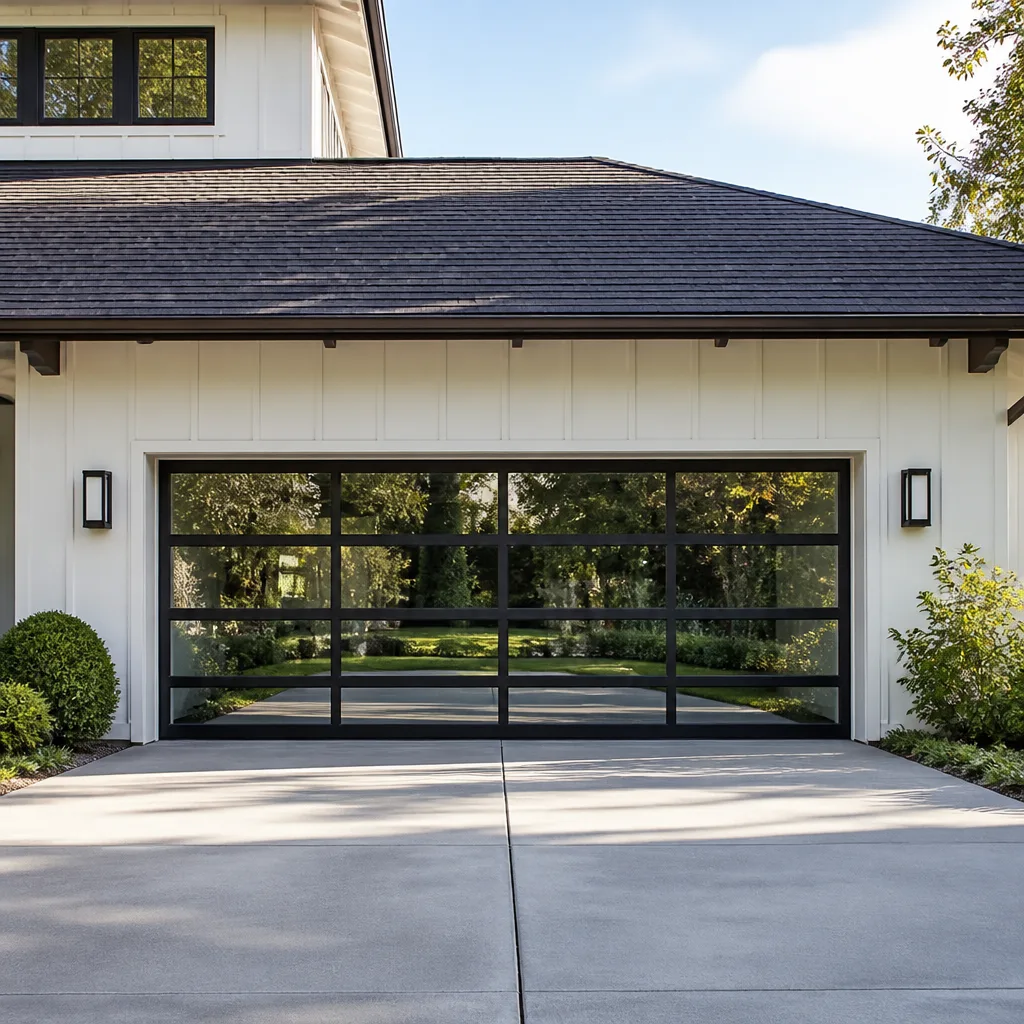 Full-view glass
 LiftMaster openers
 Chamberlain openers
Full 25-point door and opener safety check with every visit - springs, cables, rollers, tracks, and your LiftMaster or Chamberlain opener included
You get a price before we start. It does not change when the truck arrives.
Get your free estimateGarage Door Repair Maintenance Checklist for Glendale Homeowners
Here’s the uncomfortable truth most maintenance guides won’t tell you: the torsion spring above your Glendale garage door is under enough tension to lift roughly 200 to 400 pounds, and it fails slowly, with clear warning signs, for two to four weeks before it finally snaps. Most homeowners just don’t know what those warnings look like. This guide will give you a working checklist built from the failure patterns we see on service calls across the city, from Brand Park to Chevy Chase Canyon, so you can spot trouble before it becomes a 6 a.m. emergency.
Styles & brands we work with
- Raised-panel steel
- Carriage house
- Modern flush
- Full-view glass
- LiftMaster openers
- Chamberlain openers
Quick Answer
A garage door maintenance checklist for Glendale homeowners means inspecting torsion springs, cables, rollers, tracks, and the opener system every six months, with extra attention during the windy months when dust and debris accumulate faster. For deeper walkthroughs on each component, see our Garage Door Repair Troubleshooting: Common Problems and How to Fix Them. Most failures announce themselves through specific sounds, resistance patterns, and visual wear that take about ten minutes to check and can save you from a broken spring or snapped cable emergency.
Table of Contents
- The Torsion Spring: What to Inspect and What You’re Actually Looking For
- Cable Inspection: The Difference Between 30 Days and 30 Minutes
- Rollers and Tracks: How Glendale’s Dusty Wind Season Changes Your Cleaning Schedule
- Lubrication: The Right Way, the Wrong Way, and the WD-40 Mistake
- Opener Maintenance: Your Daily Driver Deserves a Tune-Up
- Do Now, Watch, or Call: A Decision Tree for Every Checklist Item
- Seasonal Timing: When Glendale Homeowners Should Run This Checklist
- Common Mistakes to Avoid
- When to Call a Professional
- Frequently Asked Questions
- The Bottom Line
The Torsion Spring: What to Inspect and What You’re Actually Looking For
We’ve replaced torsion springs on doors from Clopay, Wayne Dalton, Craftsman, and Amarr systems all across Glendale, and the failure pattern is remarkably consistent. A spring does not snap without warning. It gives you weeks of signals if you know what a healthy spring looks like compared to one that’s nearing the end of its service life.
Here’s what to check, and the specific indicator you’re looking for:
- The gap. A healthy torsion spring has tightly coiled, evenly spaced coils. When a spring starts to fatigue, you’ll see a visible separation in the coils, usually near the center of the spring. This gap is the single most reliable early warning sign. If you can see daylight between coils that used to touch, the spring has lost tension and is actively deteriorating.
- The rust pattern. Surface rust on a spring is cosmetic. Rust that appears to flake, pit, or create uneven brown patches concentrated in one or two coils means moisture has penetrated the metal and the spring is corroding from the inside. In Glendale’s mostly dry climate, serious rust usually signals the door was exposed to repeated water intrusion, often from a poor seal or a hose directed at the garage floor, and it accelerates spring failure significantly.
- The uneven lift. Disconnect the opener using the red emergency release cord (it’s safe, just pull straight down), then manually lift the door about three feet off the ground. A healthy spring holds the door at that height without drifting. If the door drops, the spring is losing tension. If one side of the door rises faster than the other, one spring is wearing unevenly.
- The carry weight. When you lift the door manually, it should feel balanced, roughly the weight of a loaded carry-on suitcase in the first two feet. If it feels heavy, like lifting a piece of furniture, the spring is no longer doing its share of the work.
Do not touch the spring. Do not attempt to lubricate it yet (we’ll cover that in the lubrication section). Do not loosen or tighten anything on the spring assembly. The torsion spring is under lethal tension, and the energy stored in it can release catastrophically if you attempt to adjust it. Your job during inspection is observation, not intervention. If you see the gap, the flaking rust, or feel the uneven lift, that’s your signal to call a professional. Garage door repair in Glendale from Suncrest includes spring replacement with a written quote before any work begins.
Cable Inspection: The Difference Between 30 Days and 30 Minutes
Cables are the least glamorous part of your garage door system and, next to springs, the most likely to cause a genuine safety hazard if they fail. The cable is the steel wire that runs from the bottom bracket on each side of the door up to the drum at the top. It’s what actually does the lifting when the spring provides the energy. When a cable frays, it’s not a gradual, forgiving failure. It’s a sudden, violent release that can send the door crashing down at an angle.
Here’s what to look for, and what each pattern means for your timeline:
- Run your eyes along the visible cable path. You don’t need tools for this. Stand inside the garage with the door closed and look at the cables on both sides, from the bottom bracket up to the top drum. Look for any individual wire strands that have broken and are sticking out from the main cable bundle. Even one broken strand means structural damage.
- Check for the “corkscrew” pattern. If the cable looks twisted, kinked, or no longer lies flat against the drum, that’s a serious problem. This means the cable has jumped its track on the drum or is no longer winding evenly. A corkscrewed cable can fail within hours, not days.
- Look for the fraying location. Fraying near the bottom bracket is a 30-day warning. Fraying near the top drum is a 30-minute warning. The top section carries more load during the full travel cycle, and a frayed cable near the drum is under maximum stress every time the door opens.
- Check the bracket bolts. The bottom bracket is bolted to the door panel. If you see rust streaking down the panel from the bracket, or the bracket itself looks pulled away from the door face, the cable is under abnormal tension. This happens when springs are underpowered for the door weight.
If you see any of these cable conditions, stop using the door. Do not try to run the opener, do not attempt to guide the door, and do not try to re-seat the cable yourself. The cable and spring system are under tension, and a cable that snaps under load whips with enough force to cause severe injury. Call for Garage Door Repair immediately. In our experience, Glendale homeowners who catch cable fraying early almost always avoid the secondary damage that happens when a snapped cable lets the door slam into its stop bolts at full speed, which often bends the track and cracks the panel.
Rollers and Tracks: How Glendale’s Dusty Wind Season Changes Your Cleaning Schedule
If you live anywhere in Glendale, you know the wind. The Santa Ana winds blow through the Verdugo Mountains and carry fine dust that finds its way into every gap in your garage. That dust mixes with the grease and silicone on your rollers and tracks to form an abrasive paste, and that paste is what wears out garage door hardware prematurely.
For most homes in Glendale, a track and roller cleaning is a twice-a-year task. If you live near an unpaved area, a construction zone, or one of the canyon roads where wind gusts concentrate, check every three months instead of every six.
Here’s the cleaning routine that works:
- Roller inspection. Look at each roller where it meets the track. Steel rollers with ball bearings are the standard on most doors. If the wheel has visible flat spots, or if it wobbles when the door passes it, the bearing is shot. Nylon rollers last longer but still fail, typically with visible cracks in the nylon or a white powdery residue around the bearing. One bad roller puts lateral stress on the track, which then wears the next roller faster.
- Track cleaning. Using a dry rag or a shop vacuum, remove built-up debris from the horizontal and vertical tracks. Do not use water and do not spray any cleaner directly into the track. Water runs down the track and into the roller bearings, where it causes exactly the kind of rust that kills rollers. A dry wipe is sufficient for Glendale’s dry dust. If you have heavy buildup, a dry nylon brush works better than anything wet.
- Track alignment check. With the door closed, look at the vertical tracks on both sides. They should be perfectly parallel to the wall and to each other. Use a level if you have one. A track that’s even half an inch out of alignment will cause the door to bind, and that binding force goes straight into the opener motor, wearing the gear and sprocket. If you hear a grinding or scraping sound when the door moves, the track is the first place to check.
- Roller lubrication. A single drop of a purpose-made garage door lubricant or white lithium grease on each roller bearing is enough. You are lubricating the bearing inside the wheel, not the roller surface itself. The roller surface rolling against the track doesn’t need lubrication, and lubricating it just attracts more dust. In Glendale’s dry season, that’s a bigger problem than the friction.
If you find a roller that’s visibly cracked, a track that’s more than a quarter inch out of alignment, or hear a persistent scrape that doesn’t resolve after cleaning, those are repair calls, not maintenance tasks. We see these patterns frequently on garage door opener repair calls across Glendale, where the opener is blamed for a problem that actually started as a neglected roller.
Lubrication: The Right Way, the Wrong Way, and the WD-40 Mistake
This is the section where we can save you from the single most common mistake Glendale homeowners make. WD-40. We see it on roughly every third service call, and it’s always doing more harm than good. Here’s the truth about lubricating your garage door, and it applies whether you have a Craftsman, a Wayne Dalton, or any other brand:
WD-40 is a water displacer and a solvent, not a lubricant. Its job is to break up rust and clean surfaces. When you spray WD-40 on a metal-to-metal contact point like a roller bearing or a hinge, it does briefly reduce friction, but then it evaporates and leaves the metal bone dry, now stripped of whatever proper lubricant was there before. It actually accelerates wear. If there’s one takeaway from this entire checklist, it’s this: put the WD-40 away.
Here’s what you should use, and on what:
- Roller bearings: Use a garage-door-specific spray lubricant or white lithium grease. One small drop or one short spray per bearing. Not on the roller surface.
- Hinges: The hinge pins are where the wear happens. A drop of lightweight machine oil or a specific hinge lubricant on each pin. Do not use heavy grease, which holds Glendale dust and turns into grinding paste.
- Springs: This is the most misunderstood part of the entire door. A torsion spring does not need lubrication to function. It needs lubrication only to prevent surface rust, and only a tiny amount is required. Spray a light, even coat of a garage-door spring lubricant along the outside of the coil, focused on the surface, not between the coils. Anything more than a light coat just drips down onto the door and the floor. The spring does its work through the tension of the metal itself, not through any moving contact between coils.
- Opener chain or belt: If you have a chain drive opener, the chain needs occasional lubrication to prevent noise and wear. A garage-door chain lubricant or white lithium grease applied to the top of the chain while the opener is running is the right approach. Do not lubricate a belt drive. The belt is reinforced rubber and lubricant will degrade it.
- What never gets lubricated: The track. The opener rail is fine. The belt. The safety sensor lenses (clean them with a dry cloth only). Lubricant on a track attracts precisely the dust that eats rollers, and lubricant on a sensor lens just creates a smeary residue that triggers phantom reversal problems.
Opener Maintenance: Your Daily Driver Deserves a Tune-Up
The garage door opener is the most used mechanical device in most Glendale homes, operating two to four times per day, every day, year-round. That’s between 700 and 1,400 cycles per year. Yet the opener is almost never inspected until it makes an unusual noise or simply stops working. We treat the opener as the centerpiece of the system, because when it fails, the whole door is out of commission.
Here’s a straightforward opener maintenance routine that takes about fifteen minutes:
- Listen for the change. Most openers make a consistent sound when they’re healthy. You know what yours sounds like. A new grinding sound usually means a stripped plastic gear inside the opener, which is the most common internal failure we see on LiftMaster and Chamberlain units. A high-pitched squeal often comes from a failing capacitor. Neither sound resolves on its own.
- Test the auto-reverse. Place a 2×4 flat on the floor directly under the door’s closing path. Close the door with the opener. The door should reverse within two seconds of contacting the wood. This is a safety system, and it’s also a legal requirement in California. If the door doesn’t reverse, the opener is not safe to use, period.
- Test the photo-eye sensors. The two small sensor units near the bottom of each track should have solid green or amber indicator lights. Pass your foot between them while the door is closing. The door should stop and reverse immediately. If the door continues downward, the sensors are not communicating, which commonly means misalignment or a wiring issue, not a sensor failure.
- Inspect the opener chain or belt tension. The chain should have no more than about a half inch of sag at the midpoint. Too loose and it slaps against the rail, too tight and it strains the gear. A belt should be taught but not guitar-string tight.
- Check the mounting. The opener should sit solidly on its ceiling mounts. If you see sagging, cracked straps, or shifting at the mounting points, the opener is not stable, and an unstable opener accelerates internal wear.
One thing we hear over and over on service calls in Glendale: the opener was working fine until yesterday. Opener failures are almost never sudden. They build slowly, and the first symptom is usually a subtle change in sound or a slightly slower door. Catching it at the sound stage usually means a $150 repair. Catching it when the motor burns out usually means a replacement. If your opener is acting differently, Suncrest Garage Door Repair home services cover dedicated opener diagnostics, not just door panel and spring work.
Do Now, Watch, or Call: A Decision Tree for Every Checklist Item
Here’s the part most checklist articles skip, and it’s the part that actually matters. An inspection finding means nothing without a clear action. Use this decision tree for every item you find during your maintenance review:
- Do Now (safe for any homeowner): Clean dry dust from tracks with a dry rag. Apply a light lubricant to roller bearings, hinge pins, and spring surface using the correct product. Test auto-reverse and photo-eye sensors. Check opener mounting. Replace remote batteries. These are all low-risk maintenance tasks that require no disassembly and no contact with tensioned components.
- Watch (monitor before your next monthly check): Minor surface rust on the spring that hasn’t caused visible coil separation. A faint scraping sound that appears only at one point in the travel. A door that’s slightly slower than normal but still opening fully without strain. These are early indicators. Mark them mentally, record what you observed and when, and check again in two to three weeks. If the symptom worsens in any way, move to the Call category.
- Call (do not attempt yourself): Visible spring coil gap or flaking rust. Any broken cable strand or corkscrew pattern. A door that falls when manually lifted. Photo-eye sensors that don’t reverse the door despite alignment attempts. A grinding opener noise. A track that’s visibly out of alignment. Any touch or adjustment of the torsion spring assembly itself. These are all tension-related or electromechanical failures where the risk of injury is too high for a DIY fix.
What separates a minor repair from a major one is almost always the response time between the Watch stage and the Call stage. A homeowner in Glenwood or Verdugo Viejo who watches a spring gap develop over three weeks and calls us before it snaps is looking at a straightforward spring replacement. The homeowner who ignores it until it fails at 5:30 a.m. on a workday is looking at an emergency call and the possibility of a bent track or damaged panel from the uncontrolled release.
Seasonal Timing: When Glendale Homeowners Should Run This Checklist
Glendale’s climate is forgiving compared to most of the country, and that’s exactly why garage door maintenance gets forgotten. The hardware isn’t fighting snow, salt, or extreme cold cycles, so homeowners assume wear is slower. It is slower in some respects, but Glendale’s particular pattern of hot, dry summers and Santa Ana wind events creates its own maintenance calendar.
Here’s how to time your checks:
- October through December (post-Santa Ana season): This is the most important maintenance window of the year. The Santa Ana winds, typically peaking from September through November, push fine dust into garages throughout Glendale. By December, that dust has settled into every track, roller, and hinge. A thorough cleaning and lubrication in late fall will carry your door through the winter months without the abrasive wear that dust causes.
- April through May (pre-summer): Your second major check. Before the summer heat settles in, check spring and cable condition. Heat accelerates metal fatigue, and a spring that enters the summer with visible coil separation will almost certainly fail during the hottest months. If you’re going to replace a spring, doing it in April is better than discovering it’s dead in August.
- After any unusual event: A power surge from a summer thunderstorm or rolling blackout can damage opener circuit boards. A heavy rain event can reveal or worsen seal problems that lead to spring rust. If anything unusual happens to your home’s electrical or water situation, give the door an extra look.
One other consideration specific to Glendale: many homes in the city’s older neighborhoods, including sections of Adams Hill and Rossmoyne, have garage doors that are 15 to 25 years old. The spring on those doors has likely already been replaced once, and the opener may be original. If you’re unsure of the service history on a door that age, a full professional assessment is worth scheduling before the next high-use season.
Common Mistakes to Avoid
- Using WD-40 on springs, rollers, or hinges. WD-40 is a solvent that strips existing lubrication and evaporates, leaving metal surfaces dryer and more vulnerable than before. We see this on a third of Glendale service calls. Use a garage-door-specific lubricant instead.
- Ignoring a slow or heavy door. A door that’s getting harder to lift is not an inconvenience. It’s the spring failing. The opener motor is compensating for the lost spring tension, which means the opener is now doing the spring’s job and wearing itself out faster. You are turning a $250 spring replacement into a $500 spring and opener repair.
- Lubricating tracks and belting. Both are friction systems that do not want lubricant. It attracts dust in Glendale’s dry, windy months and creates the abrasive paste that shortens roller and track life.
- Testing the auto-reverse with a cardboard box only. The auto-reverse test should use something that approximates the height of a small child, not a flattened object. If you’re testing with thin material, you’re not testing the safety system at the height where it actually matters.
- Thinking the opener sound is “just how it is.” Openers have a consistent sound profile. When that profile changes, something mechanical is changing inside the unit. Cost of ignoring it: the difference between a gear replacement and a full opener replacement.
- Touching anything on the spring assembly. The torsion spring holds enough stored energy to cause serious injury or death. Do not adjust it, do not lubricate it aggressively, and do not attempt to replace it yourself. This is universally the highest-risk DIY project in the garage.
- Running the opener after a cable issue appears. If you see any cable fraying or kinking, the door should not be operated until it’s repaired. A cable that snaps under load can send a door off track and into a car, a wall, or a person.
When to Call a Professional
Here’s the short version: you should call a professional when the problem is tension-related, when it involves the opener’s internal mechanics, or when the safety systems are not functioning correctly. That means a visibly gapped or rust-pitted spring, any cable damage, a door that falls when manually lifted, a grinding or changed opener sound, or an auto-reverse that doesn’t reverse. None of these are safe to address with household tools, and none are worth the injury risk. Suncrest Garage Door Repair offers free estimates in Glendale, and every price is quoted and agreed before any work begins. Call (855) 473-2620 and we’ll send a technician who works on the door you have, not the one we want to sell you.
For homeowners who are planning ahead rather than reacting to a failure, garage door installation in Glendale from Suncrest includes full product selection guidance, which is useful when you’re deciding whether to repair an aging door or invest in a replacement from a brand like Clopay or Amarr.
Frequently Asked Questions
Twice a year is sufficient for most Glendale homes, once in late fall after the Santa Ana wind season and once in late spring before the summer heat. Homes near unpaved roads, construction, or canyon wind corridors may need a quarterly track and roller check. A monthly visual check of the spring and cables takes sixty seconds and catches most issues before they become failures.
A garage door that’s getting harder to lift is almost always a failing torsion spring losing its tension. The spring is designed to counterbalance the door’s weight, and when it weakens, the full weight transfers to whoever is lifting, or to the opener motor. This is the single most reliable early warning of spring failure, and it should trigger a professional inspection rather than continued use.
A failing torsion spring may make a creaking, popping, or metallic grating sound as the door opens and closes. The sound comes from the coils binding against each other as the spring unwinds under load. A loud bang followed by the door feeling suddenly heavy is the spring actually breaking, and the door should not be operated after that.
Yes, lightly, from a safe distance. A light, even coat of a garage-door-specific spring lubricant on the outside surface of the coil helps prevent rust. Do not spray between the coils, do not use WD-40, and do not touch or adjust the spring assembly itself. If the spring is already showing visible coil separation or pitted rust, lubrication is not the issue, and the spring needs professional replacement.
Garage door repair costs in Glendale vary based on the part and the labor involved, but a torsion spring replacement typically falls in the range of $250 to $400 including the spring and installation, a roller replacement is usually $15 to $40 per roller, and a cable replacement is generally $150 to $250. Opener repairs range from about $150 for a gear replacement to $400 to $600 for a full opener swap. Every Suncrest quote is written and agreed before work begins, so the price you hear on the estimate is the price you pay. Call (855) 473-2620 for an exact quote on your specific door, estimates are free.
An opener that runs without moving the door usually means the internal plastic gear has stripped, which is a common failure on LiftMaster and Chamberlain models after years of use. The motor spins, but the stripped gear teeth no longer transfer motion to the chain or belt. This is a straightforward repair for a technician who has the replacement gear on the truck, and it’s far less expensive than a full opener replacement.
The Bottom Line
A useful garage door maintenance checklist tells you what to inspect, what healthy looks like, and what failure is announcing itself before it arrives. For Glendale homeowners, that means twice-a-year checks of the torsion spring coil gap and rust pattern, the cable fraying location, the roller and track dust buildup, and the opener’s sound and safety systems. The ten minutes this takes pays back in avoiding emergency calls and unintended opener damage. For more guides & resources, visit our blog. When any checklist item moves from Watch to Call, Suncrest Garage Door Repair provides free estimates across Glendale. Call (855) 473-2620, and we’ll tell you exactly what’s wrong and what it costs, before we turn a wrench.
Written by the team at Suncrest Garage Door Repair, serving Glendale since 2014.
See the difference
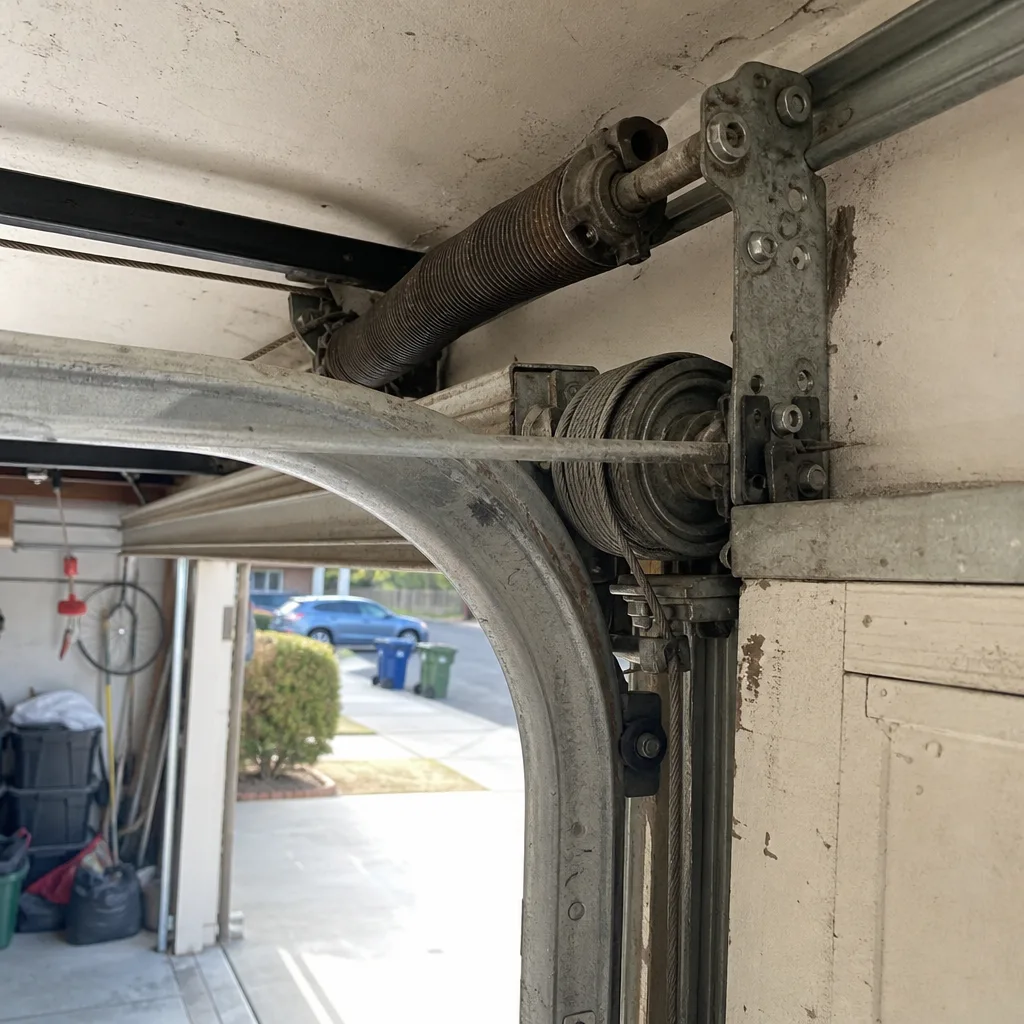 Before
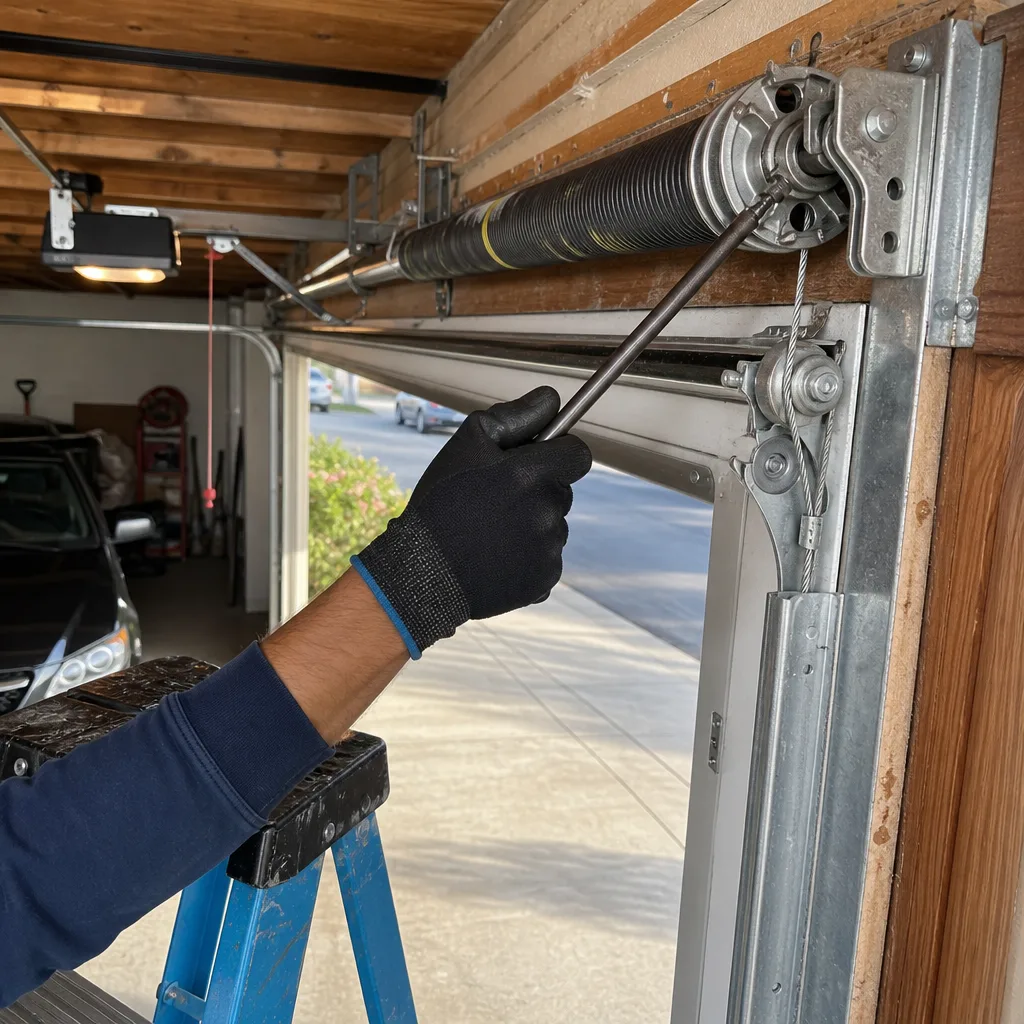 After
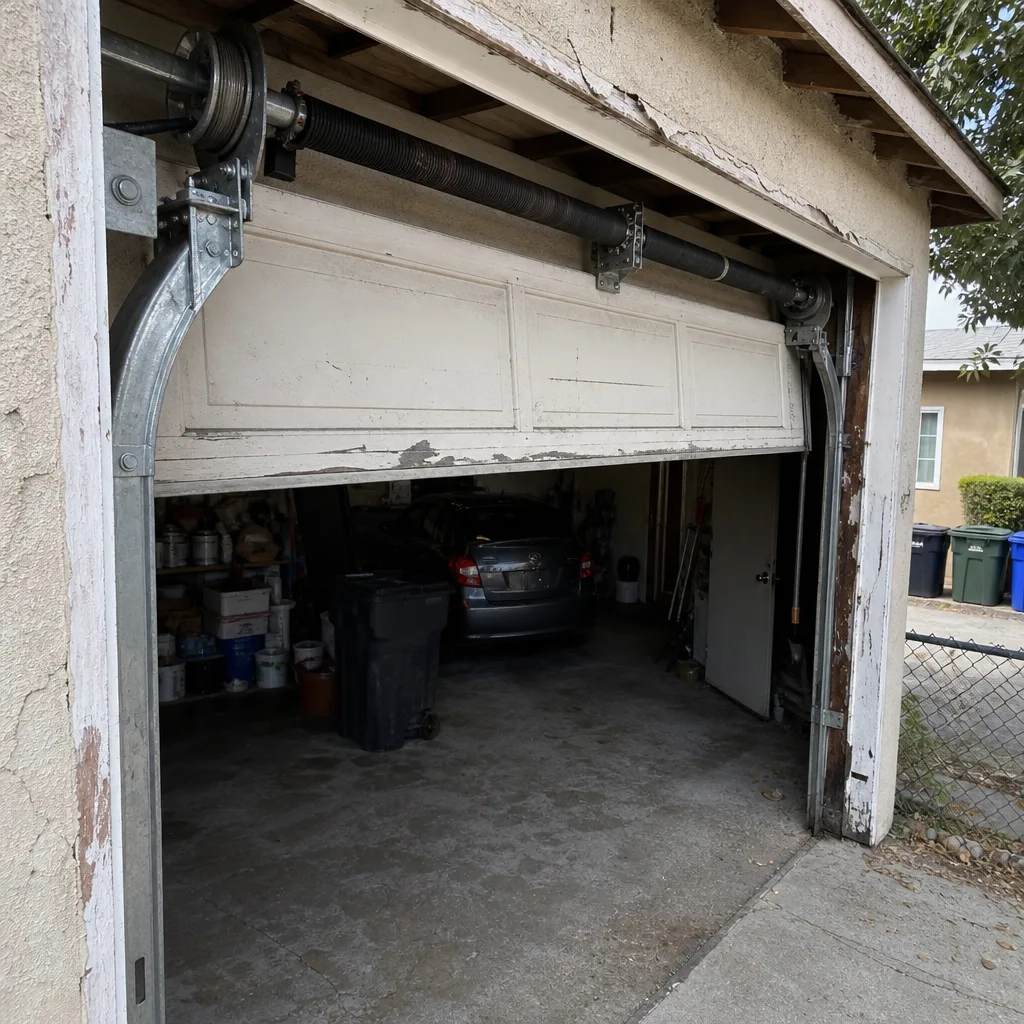 Before
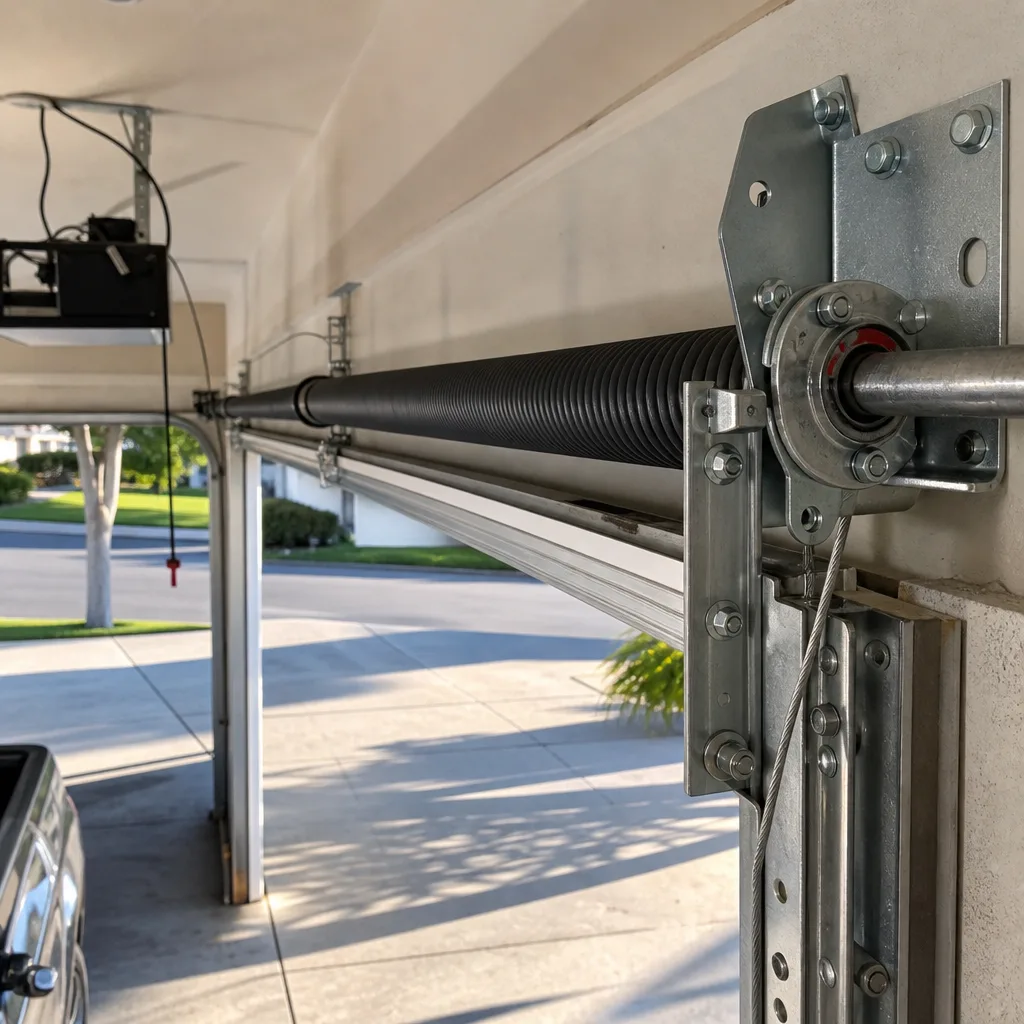 After
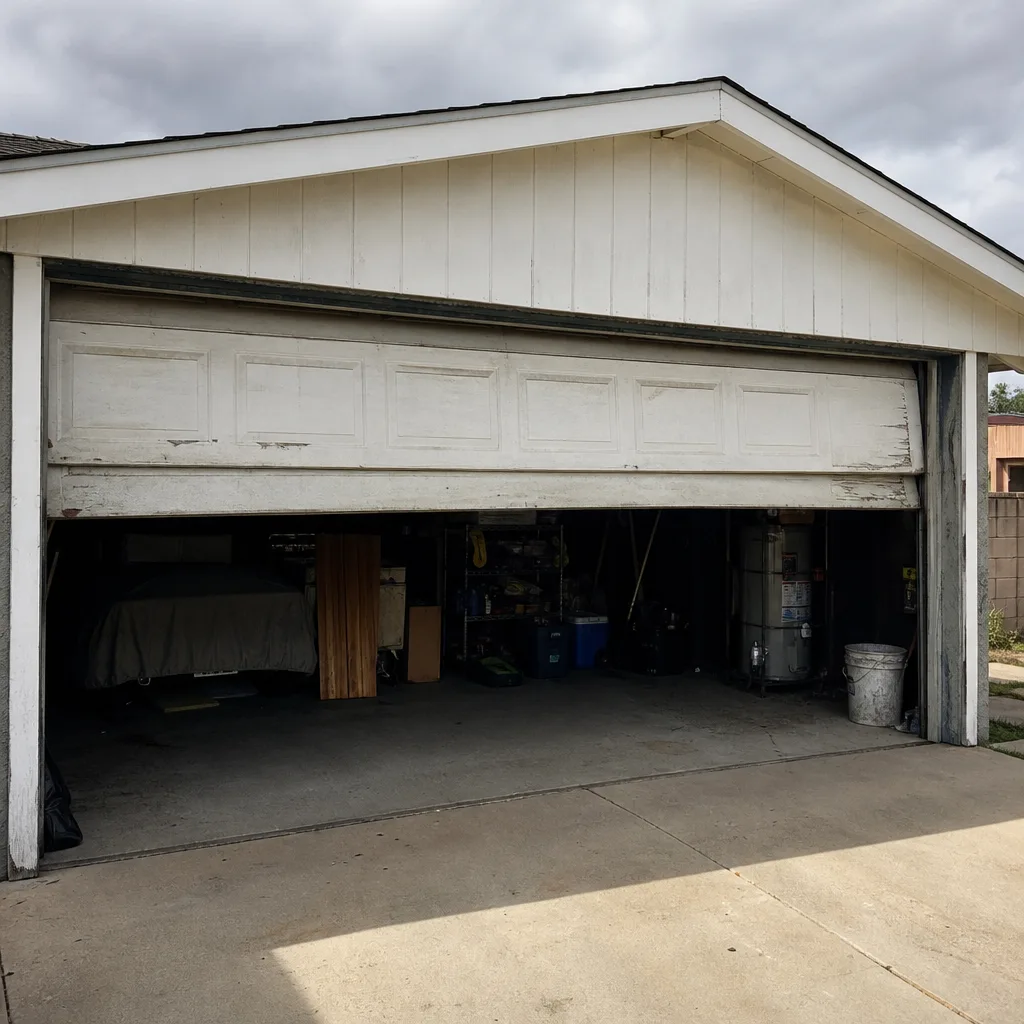 Before
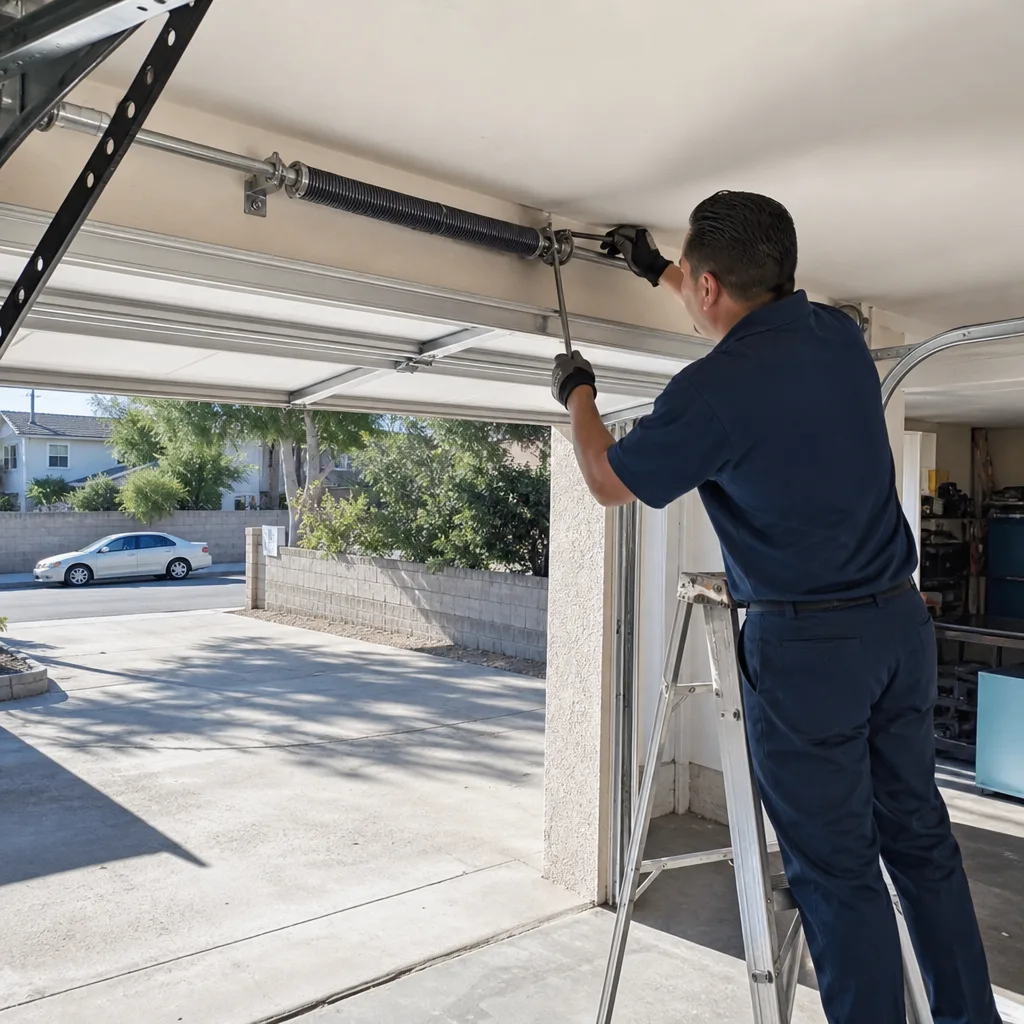 After