
Last updated November 2, 2026
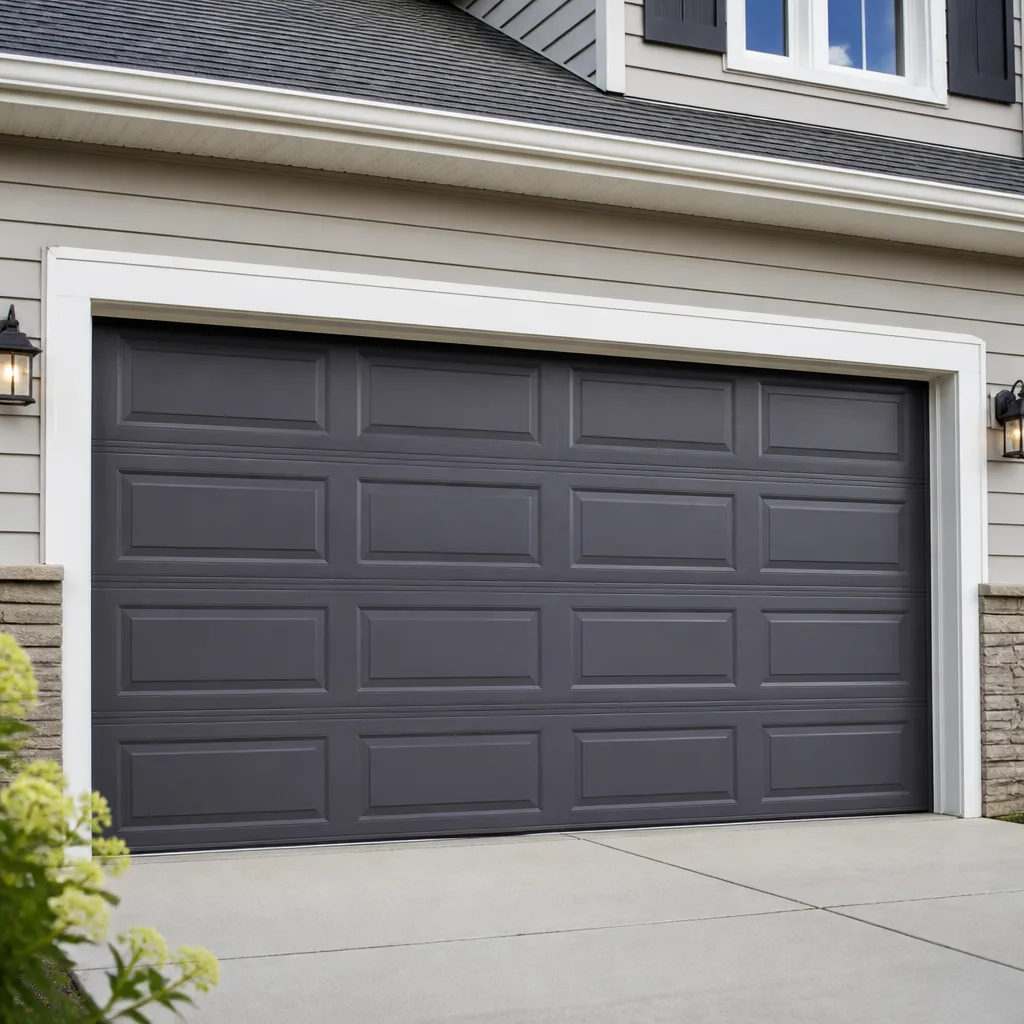 Raised-panel steel
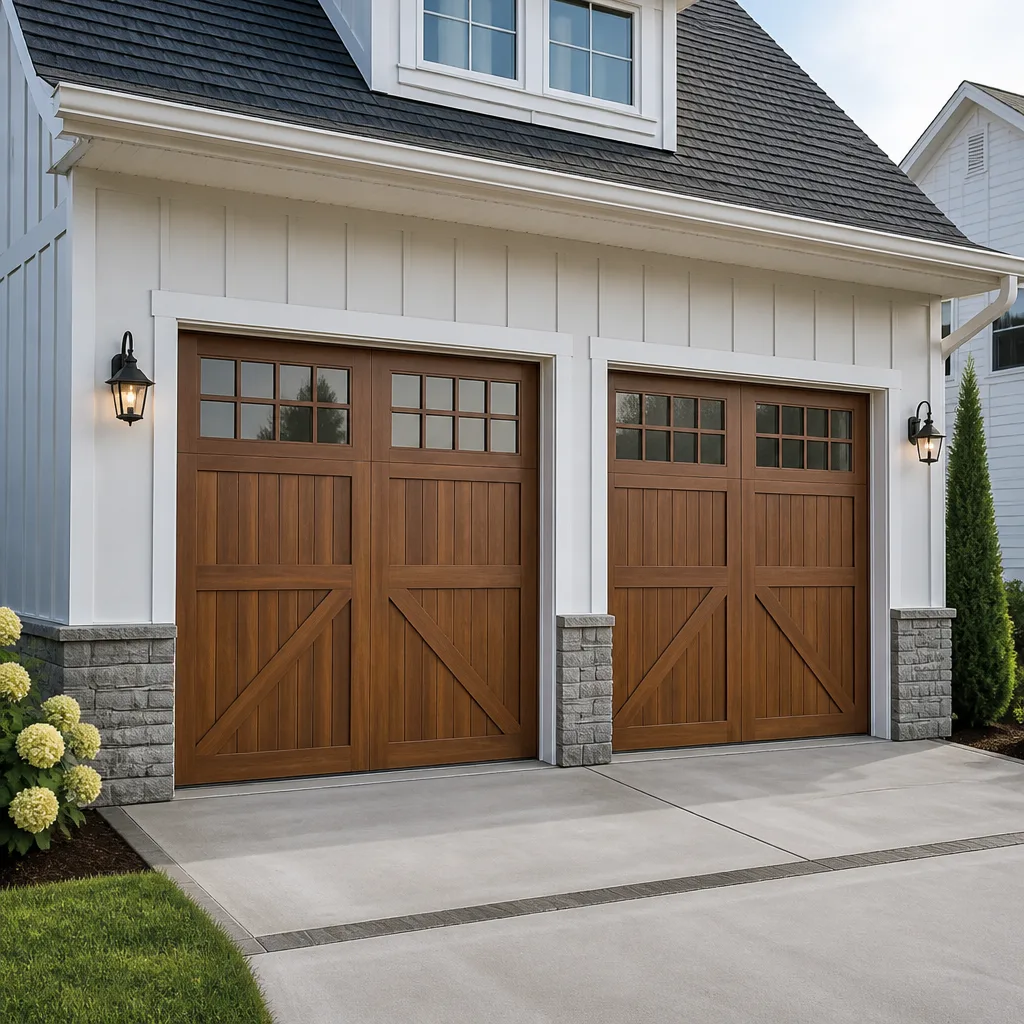 Carriage house
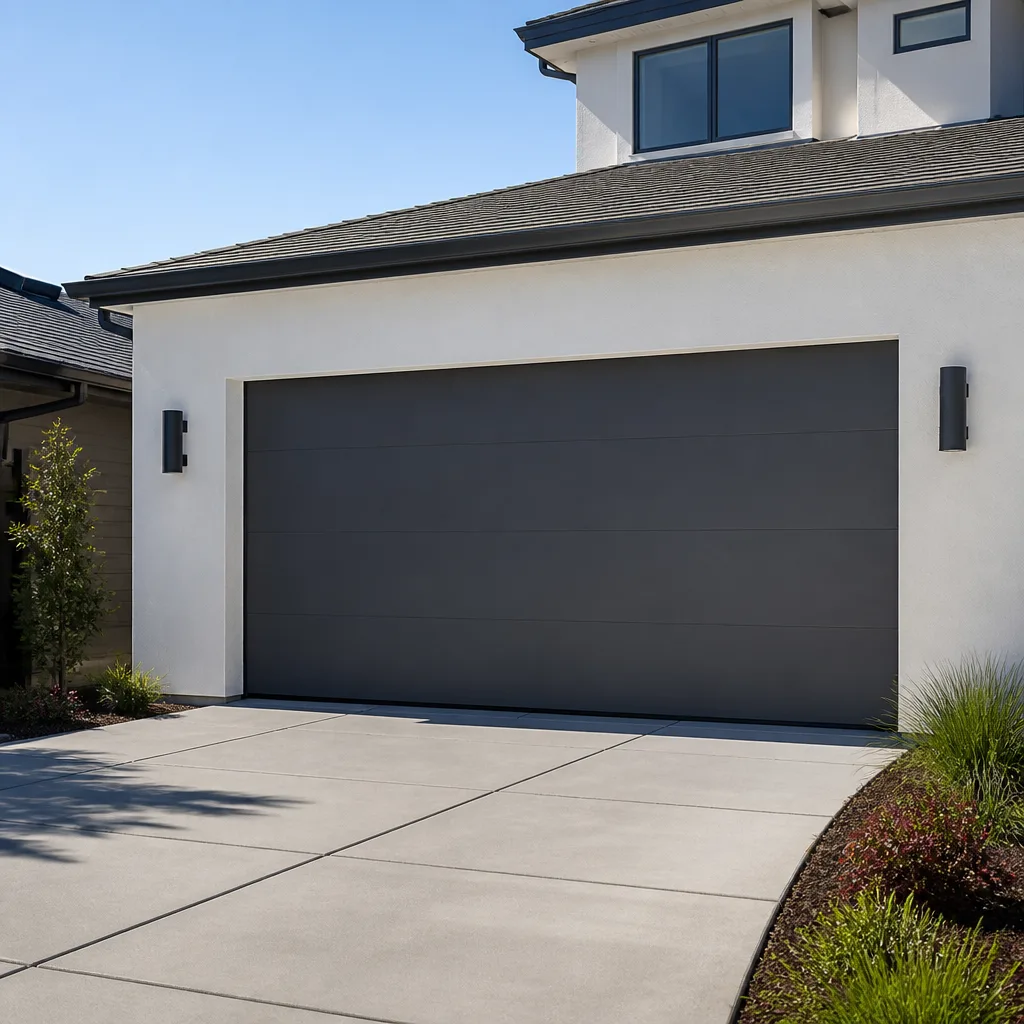 Modern flush
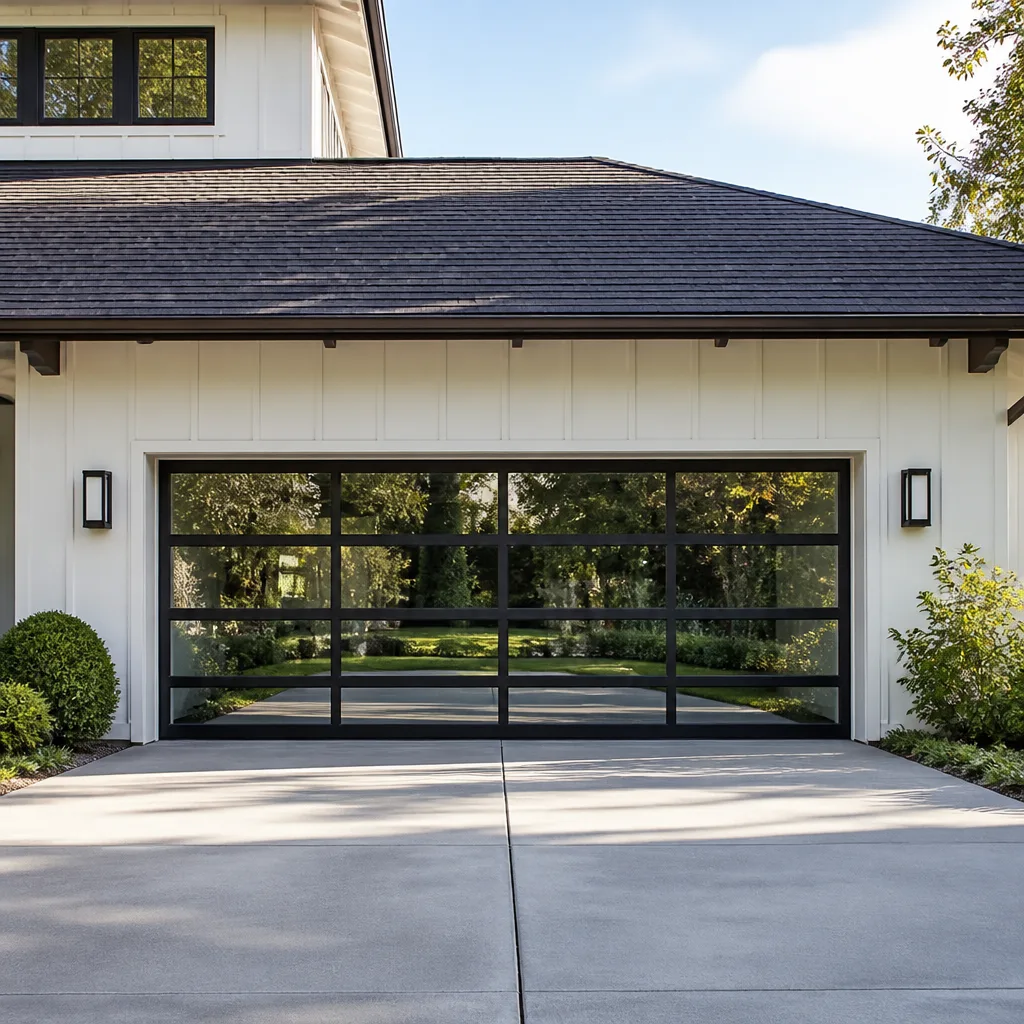 Full-view glass
 LiftMaster openers
 Chamberlain openers
Full 25-point door and opener safety check with every visit - springs, cables, rollers, tracks, and your LiftMaster or Chamberlain opener included
You get a price before we start. It does not change when the truck arrives.
Get your free estimateDIY vs Professional Garage Door: The Glendale Homeowner’s Decision Guide
A garage door torsion spring stores roughly 100 foot-pounds of torque when fully wound. That’s not a number we chose to frighten anyone. It’s the measurable force that separates a safe Saturday project from a hospital visit. Glendale homeowners face this decision every week: grab the wrench, or pick up the phone. This guide draws the line at the component level. We’ll tell you exactly which garage door tasks you can handle this weekend, which ones you should never touch, and what it actually costs either way. For more, see our more guides & resources.
Quick Answer
Most garage door maintenance in Glendale is DIY-safe: weatherstripping, sensor cleaning, remote programming, and lubrication take under an hour and require no specialized tools. But torsion springs, lift cables, and track realignment on a heavy sectional door carry mechanical risk that no YouTube video can prepare you for. The deciding factor isn’t your skill level – it’s whether the component stores mechanical energy while you work on it.
Styles & brands we work with
- Raised-panel steel
- Carriage house
- Modern flush
- Full-view glass
- LiftMaster openers
- Chamberlain openers
Table of Contents
- Component-by-Component Verdicts: What’s Safe, What’s Not
- Tool Cost Reality Check: The Break-Even Analysis
- What Glendale Homeowners Need to Know About Permits and Liability
- Opener Programming and App Integration: The DIY-Friendly Tasks
- How to Evaluate a YouTube Repair Video for Accuracy
- Understanding Spring Types: Torsion vs. Extension (And Why It Matters)
- When DIY Goes Wrong: What We See on Service Calls
- The Semi-DIY Approach That Actually Works
Component-by-Component Verdicts: What’s Safe, What’s Not
The fastest way to make the DIY call is to look at the specific part, not the whole door. A garage door is a system of components, and they don’t all carry the same risk profile. Here’s how we break it down in Glendale, where the dry heat and occasional Santa Ana winds mean weatherstripping wears faster and hardware loosens more than it does in coastal neighborhoods.
DIY-Safe Components
- Weatherstripping and bottom seals: These rubber or vinyl strips crack and shrink in Glendale’s heat. Replacement costs $15-$40 at any hardware store and takes 20 minutes with a utility knife and a drill. No mechanical risk whatsoever.
- Sensor alignment: If your door reverses when closing, the photo-eye sensors near the floor are usually the culprit. Loosening a wing nut, adjusting the angle, and tightening it back is a 10-minute job.
- Remote programming: Adding a new remote or keypad to an existing opener is a button-sequence task. No tools, no risk, and the instructions are printed on the opener housing itself.
- Lubrication: White lithium grease on the hinges, rollers, and bearing plates. A $12 can lasts a year. Do this twice annually in Glendale’s dusty climate and you’ll extend component life measurably.
- Track cleaning: Wiping the vertical and horizontal tracks with a dry cloth removes dust and debris. Do not use grease on tracks – it collects desert dust and creates a grinding paste.
Professional-Only Components
- Torsion springs: The spring on a standard Glendale two-car garage door holds between 90 and 150 foot-pounds of stored energy. Winding bars, not screwdrivers, are required. A slip sends the bar flying at high velocity. This is the number one cause of serious garage door injuries nationwide.
- Lift cables: Cables run under tension alongside the door and attach to the spring system. When a cable snaps, the door can drop suddenly. Replacing one means unwinding the spring first – which brings you right back to the torsion spring problem.
- Track realignment on heavy doors: A solid wood or double-insulated steel door can weigh 300-400 pounds. Realigning a track that has pulled away from the jamb means supporting that weight safely while re-anchoring brackets. Without proper bracing, you’re holding up several hundred pounds of a thing that wants to fall.
- Opener gear replacement: The internal gears on a LiftMaster or Chamberlain opener wear down over 5-8 years of daily use. While the repair is straightforward, it requires opening the motor housing, and a misassembled gear train will strip itself within days. If you wrench on your own opener and then it fails a week later, you’ve paid twice for the same problem.
In our experience, the Glendale homeowners who get into trouble are almost never the ones attempting weatherstripping or sensor work. They’re the ones who watched a 12-minute video on torsion spring replacement and decided to give it a go with two screwdrivers from the kitchen drawer.
Tool Cost Reality Check: The Break-Even Analysis
Let’s talk about the actual math of DIY spring work, because this is where the “just do it yourself” advice falls apart. A proper torsion spring replacement requires specific tools, and even if you own a well-stocked garage, you likely don’t have them.
What You’d Need to Buy
- Winding bars (pair): $25-$45 for properly hardened steel bars of the right diameter. Using rebar or a screwdriver is how people get hurt – soft metal bends under load and slips out of the spring cone.
- Replacement spring: $60-$120 for a standard torsion spring for a Glendale two-car door. The spring must match your door’s weight, height, and track radius. Wrong spring = door that doesn’t balance or an opener that burns out early.
- Safety cables (for extension spring systems): $15-$30. Required on any extension spring setup, and many older Glendale homes with original doors don’t have them installed.
- Shop manual or service guide for your specific door model: $20-$50 if you don’t want to fly blind on torque settings.
Total DIY investment for a spring replacement: $120-$245 in tools and parts, plus your time. And here’s the kicker: you’ll use the winding bars once. Maybe twice if you stay in the same house for another decade. The $80-$140 you might save versus a professional repair in Glendale translates to a few dollars per year of tool ownership, and the downside risk is measured in fingers, not dollars. See our Garage Door Cost Breakdown: The Glendale Homeowner’s Reference for 2026 for full pricing.
Compare that to a professional repair, which includes the correct spring, the winding bars the tech already owns, and a labor warranty. Garage Door Repair in Glendale work is priced transparently, and you get a receipt and accountability. When you do it yourself and the spring slips, you get a trip to urgent care and a door that’s still broken. The break-even point for DIY spring work is roughly one successful job per decade. That’s a lousy return.
For components like sensors, remotes, and weatherstripping, the DIY math flips completely. A $30 seal and 20 minutes of work saves you a $150-$200 service call, and the risk is zero. That’s where your DIY energy belongs. Check out our Suncrest Garage Door Repair home page for a full rundown of what we handle versus what we’d tell you to handle yourself.
What Glendale Homeowners Need to Know About Permits and Liability
Here’s something almost no DIY garage door guide mentions: Glendale sits in Los Angeles County, and both the city and county have building codes that touch on garage door work. We’re not talking about pulling a permit to replace weatherstripping. We’re talking about the layer of liability that doesn’t exist when you regrout a bathroom. For details, read Garage Door Permits, Codes & Inspections in CA: What You Need to Know.
If you replace a garage door spring, cable, or full door and something fails – the door drops on a car, a person, or the floor – and it’s determined that improper installation was the cause, your homeowner’s insurance can and will deny the claim. DIY work that results in injury or property damage is a known exclusion in many California homeowner’s policies. You’re not just wagering your time; you’re wagering your coverage. Our Garage Door Emergency Preparedness Guide for Glendale Homes covers what to do when things go wrong.
The second liability issue is disclosure. When you sell a Glendale home, California law requires you to disclose material defects and known issues with the property. An undisclosed garage door repair that wasn’t done to professional standard becomes a legal exposure at the closing table. Buyers in Glendale’s competitive market are increasingly ordering specialized home inspections, and a garage door that binds, shudders, or won’t balance correctly will be flagged. The cost of professional repair at the outset is a fraction of the escrow credit or legal exposure a defective DIY repair can create later.
The good news: none of the DIY-safe tasks we listed earlier carry this exposure. Lubricating hinges, aligning sensors, and replacing weatherstripping don’t create latent defects. The liability question attaches to structural components. If you’re planning a full door replacement, Garage Door Installation in Glendale is work we’d strongly recommend you leave to a company that does it every day. The warranty and workmanship history travel with the home, which protects you in ways a Saturday afternoon can’t.
Opener Programming and App Integration: The DIY-Friendly Tasks
If there’s one category of garage door work that’s genuinely DIY-appropriate for almost every Glendale homeowner, it’s opener programming. Modern openers from LiftMaster, Chamberlain, and Craftsman are designed for homeowner-level setup. The manufacturer’s instructions are printed on the motor housing, the remotes are intentionally simple, and the risk profile is essentially zero. Here’s what you can confidently handle without calling anyone.
Programming a New Remote or Keypad
- Locate the “Learn” or “Program” button on the motor housing. On LiftMaster and Chamberlain units, it’s usually a colored square or round button near the antenna wire. On Craftsman openers, it’s often a purple or red button behind the light lens.
- Press and release the Learn button. An LED will illuminate, giving you roughly 30 seconds to complete the next step.
- Press the button on your new remote or enter a 4-digit PIN on the keypad and press Enter. The opener light should flash or beep to confirm.
- Test from the driveway. If it doesn’t work, repeat – the opener is programmed by rolling code, so the remote and opener are just syncing to the same frequency scheme.
Connecting Your Opener to a Smartphone App
- Confirm your opener has a smart hub or built-in Wi-Fi. LiftMaster and Chamberlain openers labeled “myQ” are app-ready. If you own a Raynor or Wayne Dalton unit with a myQ logo, it uses the same platform.
- Download the manufacturer’s app (myQ for LiftMaster and Chamberlain). Create an account.
- Press the Learn button on the opener twice (on most models), then follow the in-app prompts to connect to your home Wi-Fi. You’ll need your router password and a 2.4GHz network, not 5GHz.
- Once connected, you can open and close the door from anywhere, set alerts, and share access with family members.
A daily driver gets daily wear. Opener components – remotes, keypads, app connectivity – are built for homeowner use, and the programming is designed to be idiot-proof. Where we draw the line is when the opener motor itself is failing: grinding gears, a chain that slips, or a motor that hums but won’t turn are all signals that the mechanical heart of the opener needs attention. That’s not programming; that’s repair. And Garage Door Opener Repair in Glendale is a service we built specifically because these systems fail in predictable, diagnosable ways. We carry parts for the major brands so we can fix the opener you have on site, rather than telling you to replace it.
How to Evaluate a YouTube Repair Video for Accuracy
We’re not going to tell you YouTube is useless. There are excellent technicians who post genuinely accurate tutorials. The problem in the garage door space isn’t a lack of content; it’s the abundance of confident guessers who film themselves doing a job once, survive, and then teach the world their bad habits. Here’s how to separate the real instruction from the content mill.
Three Things to Look For
- Does the presenter talk about spring winding bars specifically? A professional will reference “winding bars” by name and specify the diameter (typically 1/2 inch for residential torsion springs). If the video shows someone using screwdrivers, rebar, or “anything that fits,” close the tab. That’s how emergency rooms in Glendale get their Saturday regulars.
- Does the video mention door weight and spring matching? A legitimate tutorial will explain that the spring must match the door’s weight and height, and they’ll tell you how to find that information (usually on a sticker on the door or the old spring itself). Someone guessing on camera skips this entirely and just says “buy a standard spring.” There’s no such thing as a standard spring.
- Does the presenter show a full tension cycle, or just the winding part? Winding a spring is one phase. Unwinding is the dangerous phase, and a real technician walks through the unwinding process carefully, showing how to release tension in controlled quarter turns. Videos that skip from “remove the old spring” to “install the new one” are hiding the exact step that injures people.
Beyond those three checks, look at the comments section. A video from a real technician will have comments from other professionals asking clarifying questions about torque specs, spring gauges, and brand quirks. A video from a content creator will have a comment section full of “this looks easy!” and “I’m going to try this Saturday.” If the audience is fellow wrenchers, you’re in safe territory. If the audience is first-timers cheering each other on, you’re watching a demo video, not a tutorial.
Understanding Spring Types: Torsion vs. Extension (And Why It Matters)
Before you touch anything spring-adjacent, you need to know which system you have, because the failure mode – and the danger – is different.
Torsion springs are mounted horizontally above the door opening on a steel tube or shaft. They wind and unwind as the door moves, storing torque. When a torsion spring breaks, it typically snaps loudly and the door becomes extremely heavy because the spring was doing the lifting. The danger with torsion springs is in the repair, not the failure. Winding and unwinding them requires winding bars inserted into the spring cone and careful quarter-turn adjustments. A slip at the wrong moment releases the entire stored torque through the bar – into your hands, arms, or face.
Extension springs stretch along the horizontal tracks on both sides of the door. They’re more common on older Glendale homes built before the mid-1990s. When an extension spring fails, it can snap and fly across the garage, which is why modern code requires safety cables threaded through the spring. The danger here is in the failure itself, which is why even “just looking at it” with your face close to a dry-rotted extension spring is a bad idea. If you own a home with extension springs and there are no safety cables installed, that’s not a DIY fix – that’s a call to a professional who can quiet the entire system down.
The distinction matters because the internet treats “garage door spring” as one thing, and it isn’t. A video about swapping an extension spring has almost nothing in common with a video about winding a torsion spring. They’re different tools, different techniques, and different risk profiles. Most Glendale homes with a two-car garage built after 2000 use torsion springs. Homes with single-car garages or original 1970s doors often still have extension springs. Know what you’re looking at before you decide what to do about it.
When DIY Goes Wrong: What We See on Service Calls
Here’s the pattern we see regularly in Glendale: a homeowner attempts a moderate DIY repair – usually a spring replacement – and it either goes sideways immediately or fails quietly over the following weeks. Then they call us, and now we’re fixing two things: the original problem and the secondary damage from the first attempt.
The most common failure sequence looks like this: the homeowner replaces a torsion spring with a spring that’s the wrong size for the door. The door opens, so it seems like it worked. But the spring is either under-wound or over-wound for the door’s weight, which means the door doesn’t sit balanced when the opener releases it. Over the next few weeks, the opener’s motor burns out trying to lift a door that’s effectively 50 pounds heavier than it’s rated for. Now the homeowner needs both a spring correction and opener repair – a $500 problem that started as a $200 job.
The second common failure is the partial repair. A homeowner replaces one of two torsion springs, reasoning that “one spring is enough.” On a two-spring door, the springs share the load, and a single new spring paired with an old, worn spring means the door is lifting unevenly. The new spring takes most of the weight and fatigues prematurely. Within a year, the “new” spring is sagging and the door is binding on one side. We end up replacing both springs properly.
The third pattern is the near-miss that becomes a phobia. Someone starts a spring job, has a winding bar slip and slam into the garage wall or floor, and then abandons the project with the spring half-wound and the door hanging crooked. Now they have a door that’s genuinely unsafe to operate, and they’re embarrassed to call for help. We’ve done enough of these rescue calls to say this clearly: no judgment. If you started a repair and it went sideways, call. A door that’s half-disassembled is more dangerous than a door that simply won’t open.
In our experience, the DIY tasks that go well are the ones with no stored energy: weatherstripping, sensors, lubrication, remote programming. The DIY tasks that go badly are the ones where the component is actively fighting you. The pattern isn’t about skill; it’s about physics. We work on the door you have, not the one we want to sell you. That means if we can guide you through a safe DIY fix, we will. And if it’s spring work, we’ll tell you straight: that’s why we exist.
The Semi-DIY Approach That Actually Works
Most Glendale homeowners aren’t looking for an all-or-nothing answer. They want to know which parts of the garage door system they can own, and which parts they should hand to a specialist. The good news: you can do both.
The Hybrid Model
- You handle the routine: Lubricate your hinges and rollers twice a year. Replace weatherstripping when it cracks. Keep the tracks clean. Program your own remotes and smart-home apps. These tasks cost almost nothing and keep small problems from becoming big ones.
- You handle the diagnostics: Before you call anyone, observe what’s happening. Does the door hesitate halfway up? Does the opener make a grinding noise? Is the door crooked when it lowers? The more specific you can be on the phone, the faster a technician can diagnose the likely cause and arrive with the right parts on the truck.
- You hand off the stored-energy work: Springs, cables, and track realignment involve components that are under mechanical load. These are the tasks where the professional’s skill isn’t about doing the job faster – it’s about doing the job without injury. The money you spend on spring replacement buys you a door that balances correctly and a warranty that follows the work.
- You hand off the big-ticket decision: When the door needs replacement, you’re choosing among steel gauges, insulation values, window options, and opener integration. This is a 20-year decision, not a weekend project. Working with a company that installs across brands means you’re getting a recommendation that isn’t filtered through a single manufacturer’s catalog.
This hybrid approach is what we recommend to every caller. You don’t need to call us for weatherstripping. You don’t need to feel guilty about calling us for springs. It’s not an either/or decision; it’s a matching decision: match the task to the risk, and invest your DIY energy where it has the highest return and the lowest downside.
Common Mistakes to Avoid
- Using screwdrivers as winding bars. A screwdriver isn’t hardened steel, it’s a tool designed for rotational force applied by hand, not 100 foot-pounds of torque released suddenly. The metal flexes, the tip rolls, and the bar slips out of the spring cone under load. In Glendale, urgent care sees wrist and forearm injuries from exactly this failure mode more often than people realize.
- Buying a spring without checking the door’s weight. Spring selection isn’t a guess-and-check exercise. The wrong spring means a door that won’t balance, an opener that burns out, or a door that flies up when released. You need the door’s exact weight and height before you buy anything.
- Lubricating the tracks. Grease attracts Glendale’s fine dust, which creates a grinding paste that accelerates track and roller wear. Tracks stay dry. Lubricate hinges, rollers, and bearing plates with white lithium, never the track itself.
- Ignoring a snapped cable and “just using the door anyway.” A door with one broken cable is lifting unevenly, which bends tracks, stresses hinges, and wears the remaining cable faster. It also means the door can drop suddenly if the second cable fails. When a cable snaps, stop using the door and make the call.
- Assuming app connectivity means the opener is fine. A LiftMaster opener that won’t connect to the myQ app could have a dead logic board, a failed Wi-Fi module, or simply needs a firmware reset. Guessing and ordering a new opener because the app won’t sync is a $400 mistake when the fix might be a $90 board.
- Doing spring work while the door is raised. If the door is open and you start pulling bolts, the door becomes an unguided weight. Always release tension with the door fully closed, and if you don’t know what that means, stop and call someone who does.
See the difference
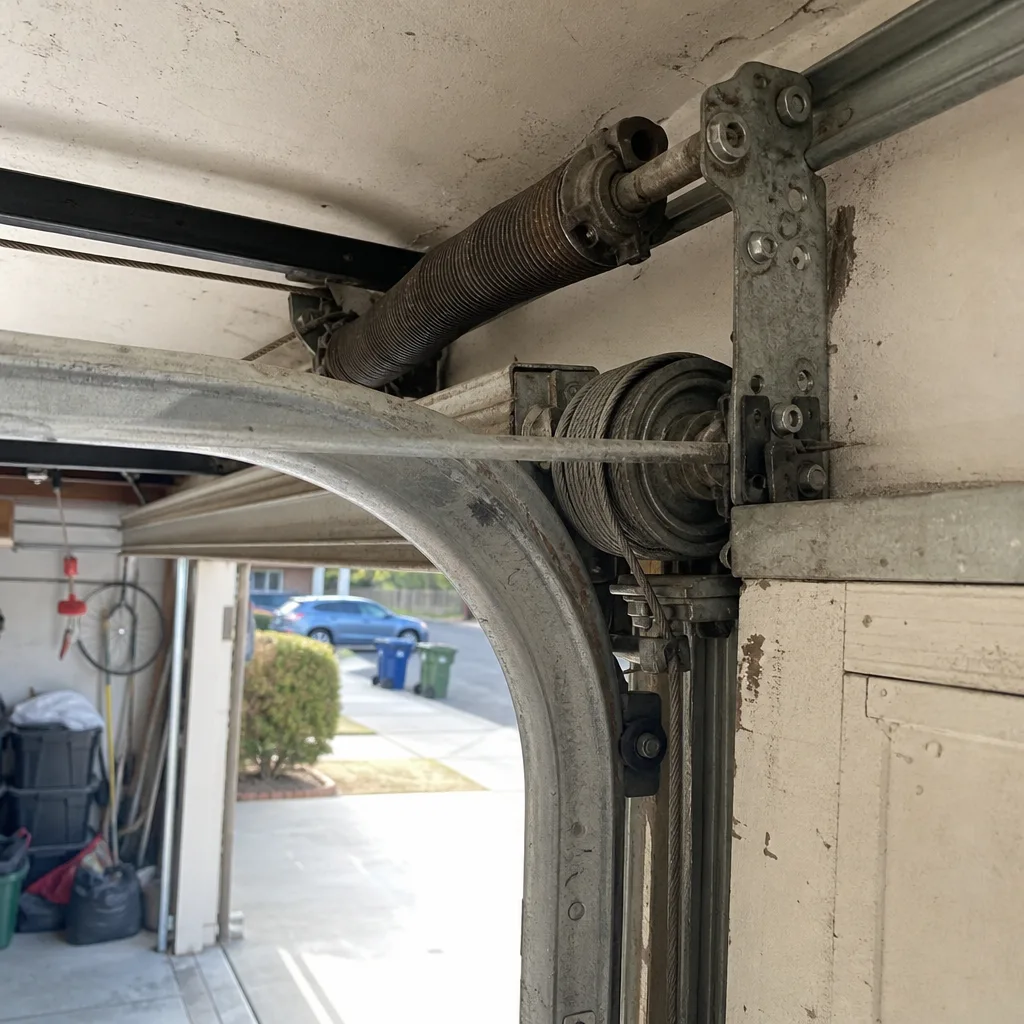 Before
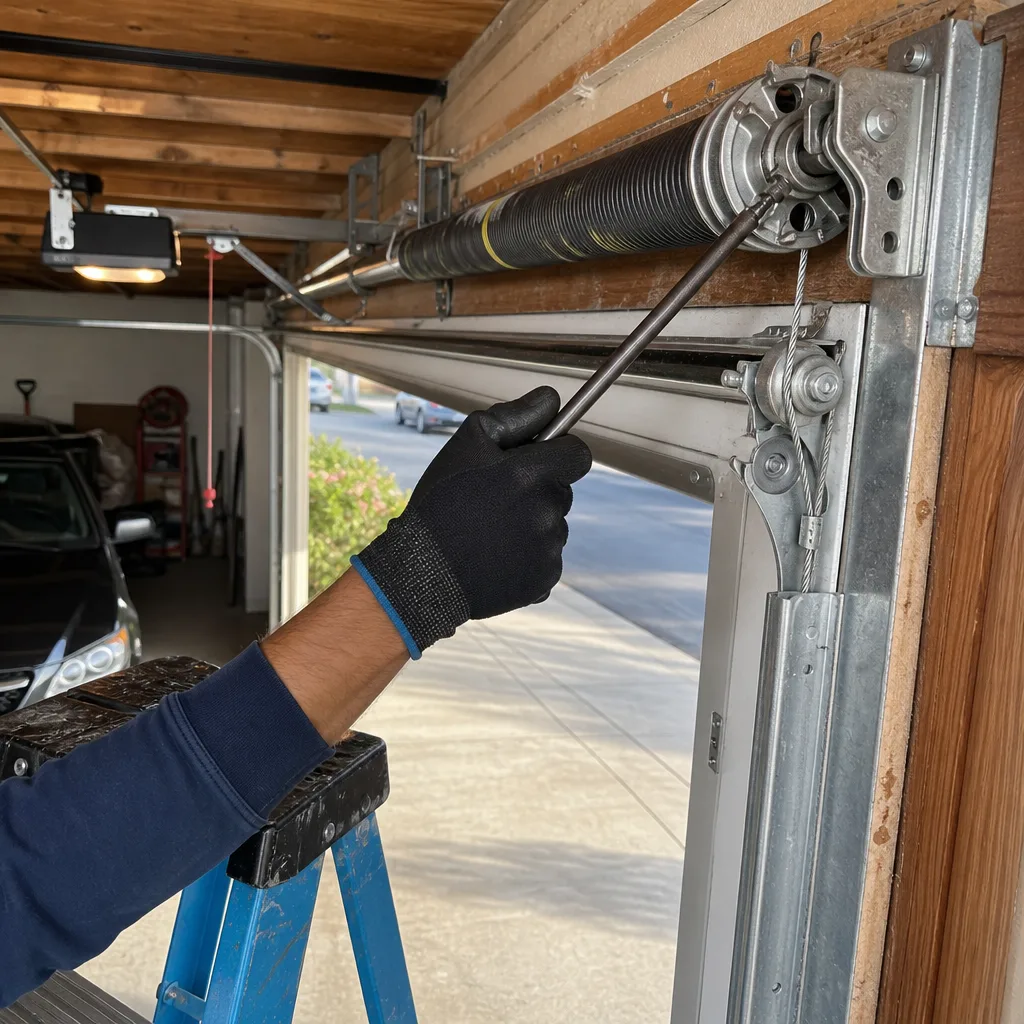 After
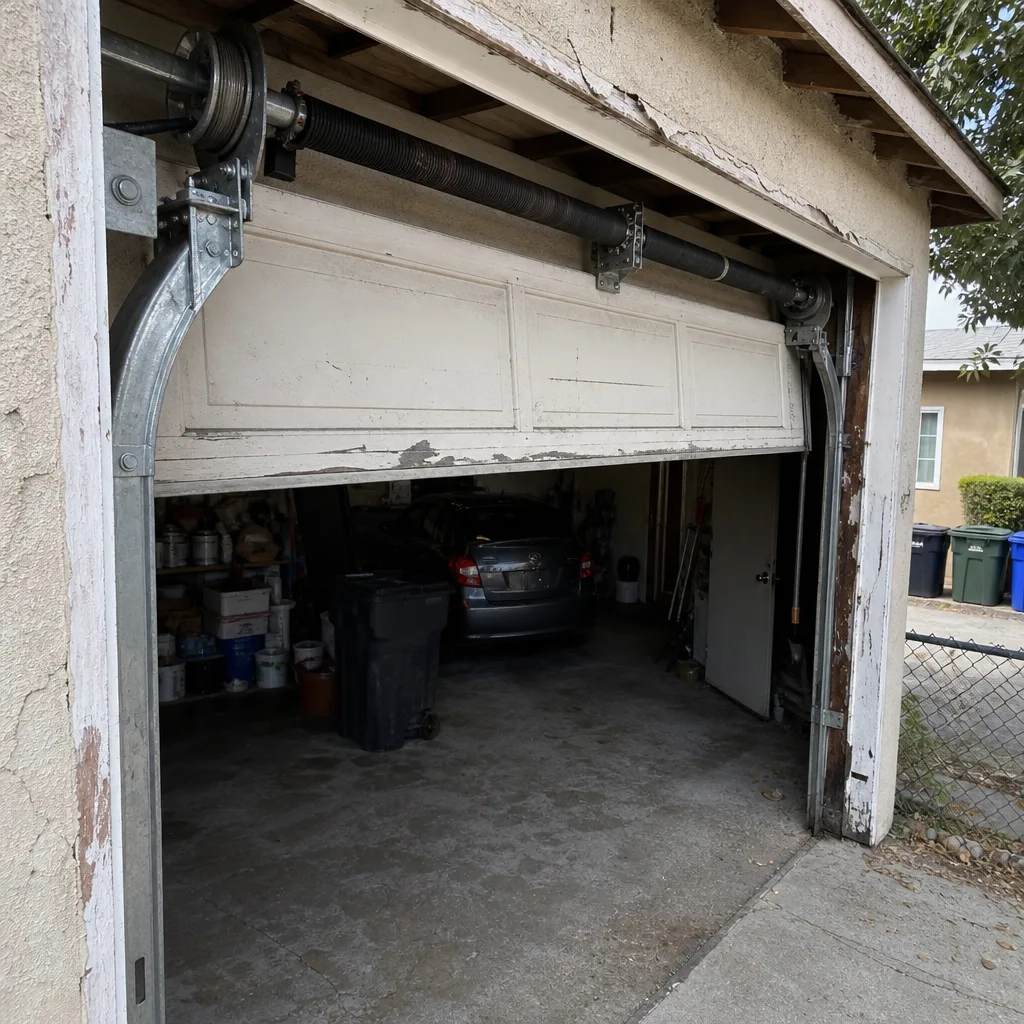 Before
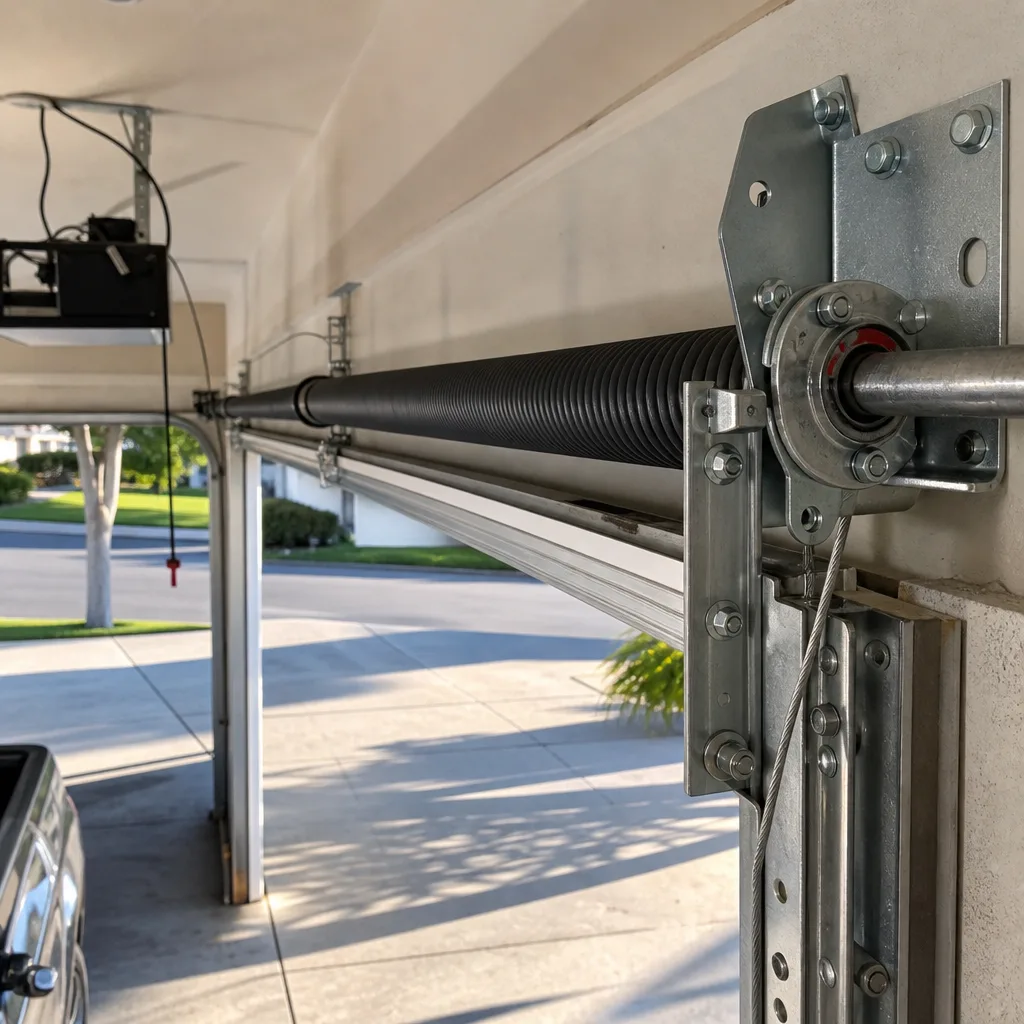 After
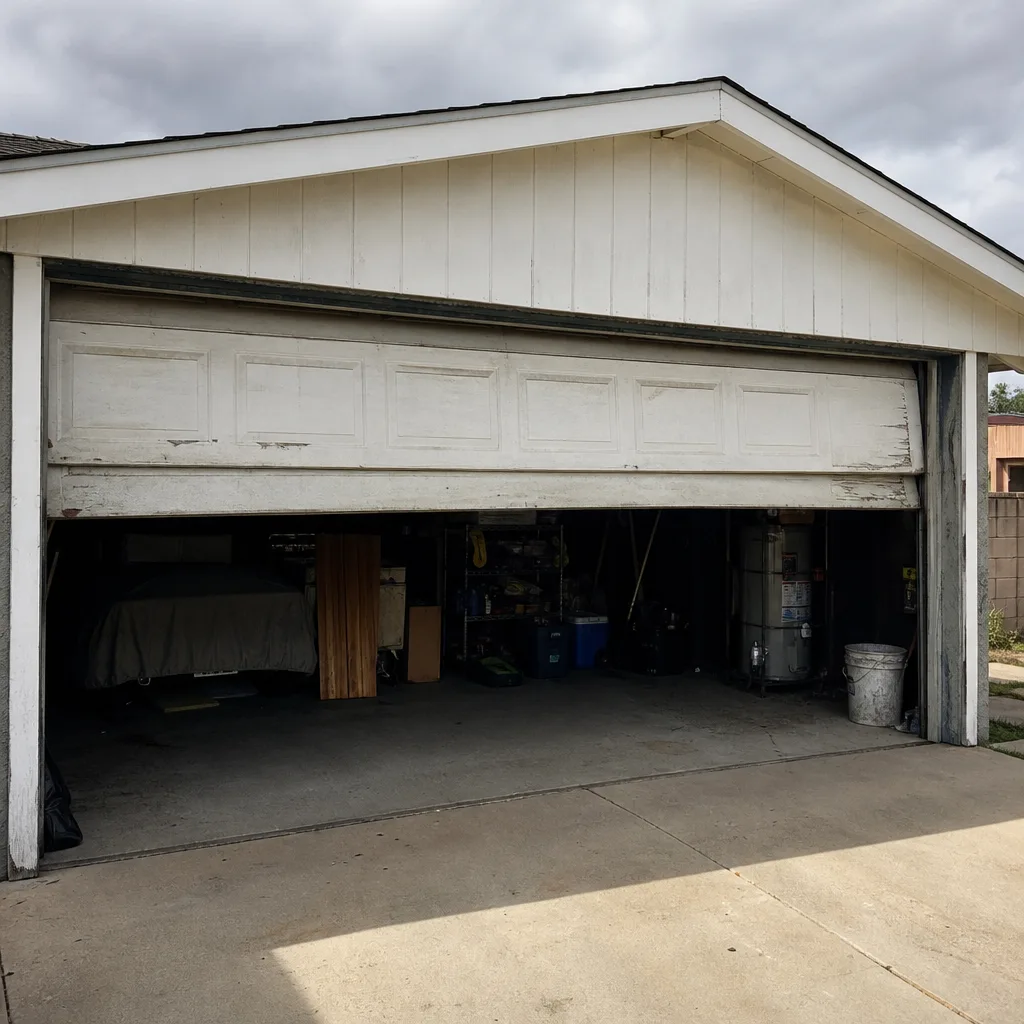 Before
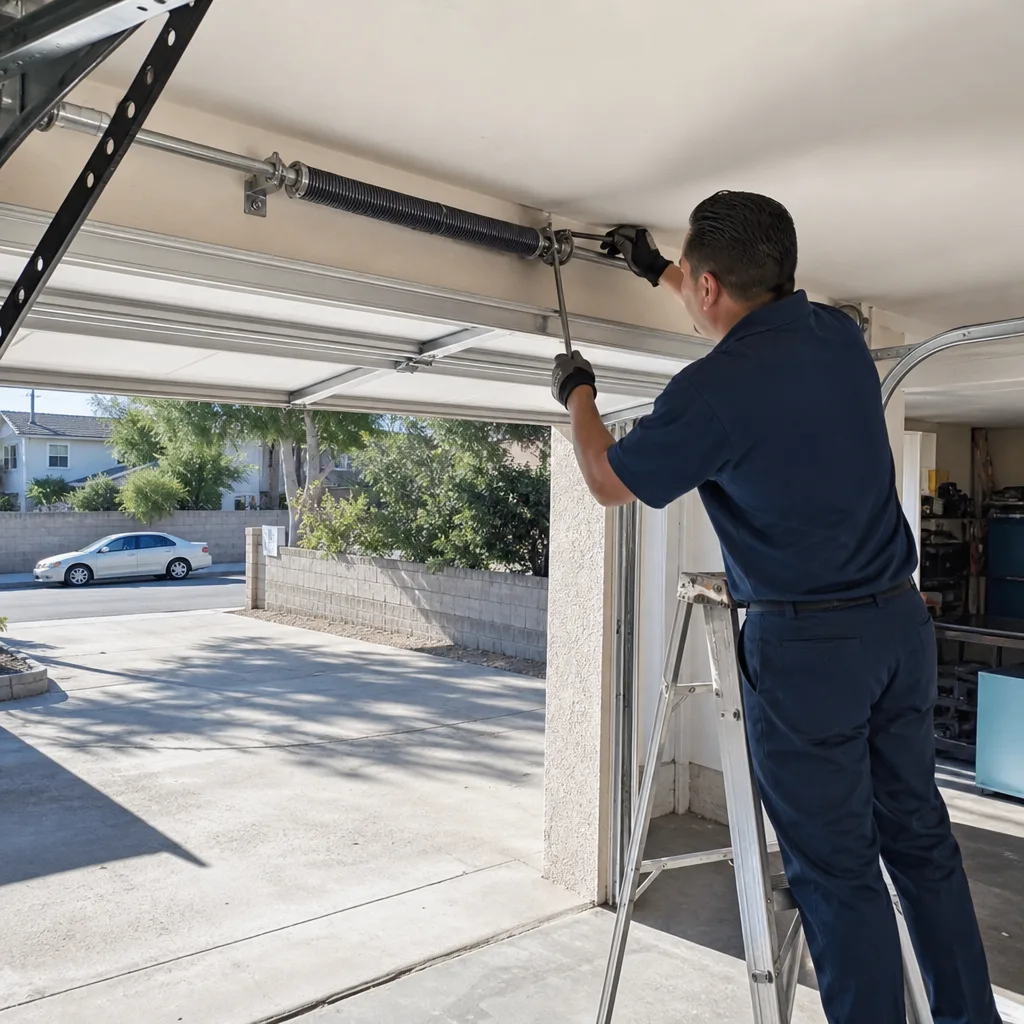 After
When to Call a Professional
Call a professional when the component stores energy: torsion springs, extension springs, lift cables. Call when the door is heavy to lift manually, because that means a spring has failed and the door’s full weight is now being held by the opener or by you. Call when the door is crooked, binding, or grinding, because these are signs of structural or track issues that worsen with use. Call when you hear a loud snap and the door won’t move at all – that’s a spring failure, and the door is now a 300-pound hazard. And call when a DIY attempt has gone sideways and you just need someone to fix it without making you feel foolish. Suncrest Garage Door Repair offers free estimates in Glendale – call (855) 473-2620 and describe what you’re seeing. We’ll tell you over the phone whether it’s a DIY-friendly fix or a spring we need to handle for you.
Frequently Asked Questions
You should not. Torsion springs store 90-150 foot-pounds of torque, and the release of that energy through an improper tool is one of the most common causes of serious garage door injury. Extension springs can fly across the garage when they break. Both repair types require specific tools, correct spring sizing, and an understanding of how to control stored energy safely. Professional spring replacement in Glendale typically runs $180-$340 including parts and labor, and the alternative is measured in medical bills, not savings.
Expect $180-$340 for a single torsion spring replacement on a typical Glendale two-car door, with the range reflecting spring size, brand, and whether you’re replacing one or both springs. Extension spring replacement runs slightly less, usually $150-$250 for a pair. The price includes the correct spring, winding, balance testing, and a labor warranty. A quote is always given and agreed before any work starts, so the invoice matches the estimate. Call (855) 473-2620 for an exact quote – estimates are free.
No. A broken spring means the door’s full weight is now being held by whatever remains – often the opener, which isn’t designed to dead-lift a 300-pound door. Continued use can strip the opener’s gears, bend tracks, and risk the door dropping suddenly. Disconnect the opener, leave the door closed, and call a professional. The repair is routine for someone with the right tools and the wrong tool for someone without them.
Yes. Most openers from LiftMaster, Chamberlain, and Craftsman use a Learn button on the motor housing that syncs remotes and keypads in under a minute. The process is documented in the owner’s manual and printed on the opener itself. No tools required. If the remote won’t sync after multiple attempts, the opener’s receiver board may be failing, and that’s a repair call, not a programming issue.
We work on the door you have, not the one we want to sell you. Our technicians are trained and factory-familiar with eight major brands: LiftMaster, Chamberlain, Genie, Clopay, Amarr, Wayne Dalton, Craftsman, and Raynor. That covers the premium smart openers, the value brands, and the legacy systems still running in older Glendale homes. Whatever brand is on your door, we know it.
No. The price you’re quoted is the price you pay, and it’s always agreed before any work begins. If the technician finds something additional that wasn’t visible in the initial assessment, you’ll be told what it is, what it costs, and why it matters before a single tool comes out. You decide what gets done. That’s true for Garage Door Repair in Glendale, opener work, and full installations. No surprises on the invoice, ever.
The Bottom Line
The garage door DIY decision isn’t about how handy you are. It’s about what kind of energy is stored in the component you’re touching. Weatherstripping, sensors, remotes, and lubrication are low-risk, high-return tasks any Glendale homeowner can own. Springs and cables store enough mechanical energy to cause serious injury, and the tools, the sizing, and the technique all have to be right or the job isn’t just wrong – it’s dangerous. Glendale’s heat accelerates seal wear, its housing stock includes both torsion and extension spring systems, and its real estate market punishes undisclosed defective repairs. Match the task to the risk. Own the small stuff. Call a specialist for the stored-energy stuff. That’s the whole decision, and it applies whether your door is ten years old or thirty. The team at Suncrest Garage Door Repair is one call away for the stuff that matters: (855) 473-2620.
Written by the team at Suncrest Garage Door Repair, serving Glendale since 2014.